Buyers Guides
-
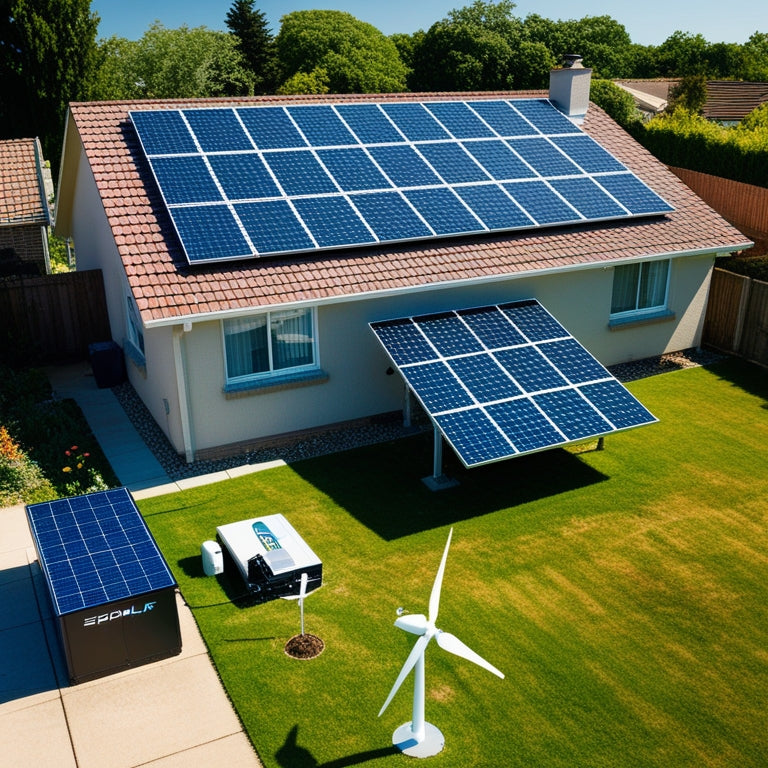
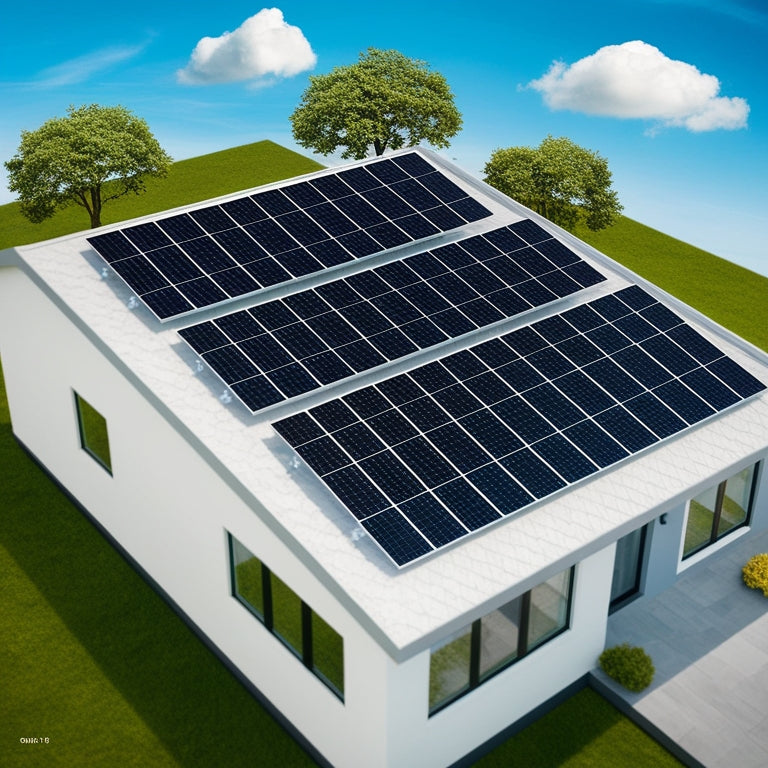
Home Solar Energy Systems
You can greatly reduce your dependence on traditional energy sources by integrating...
-
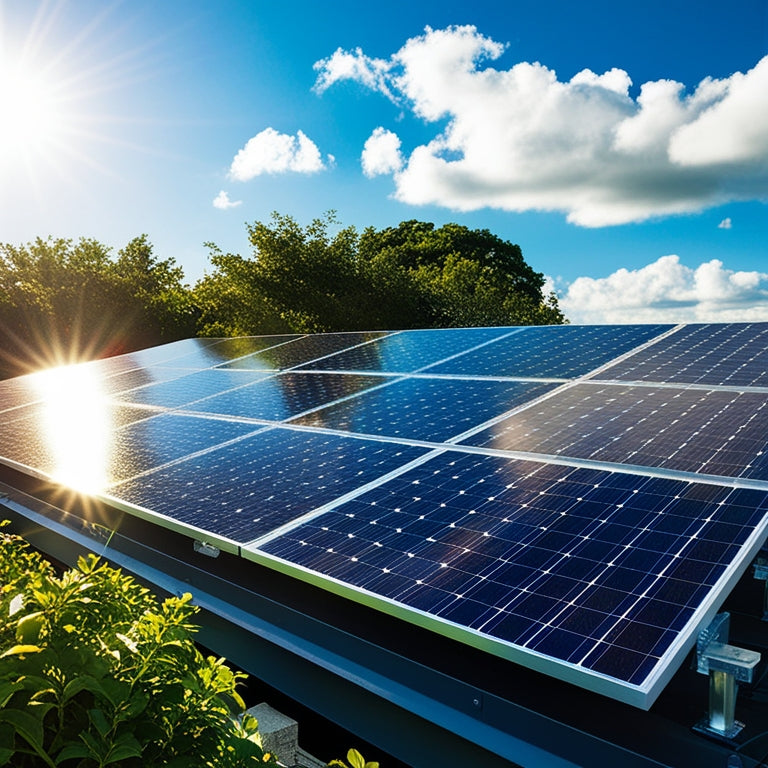
Home Solar Panel Systems
When investing in a home solar panel system, you'll want to focus...
-
Home Solar Systems
You're considering installing a home solar system, a vital step in reducing...
-
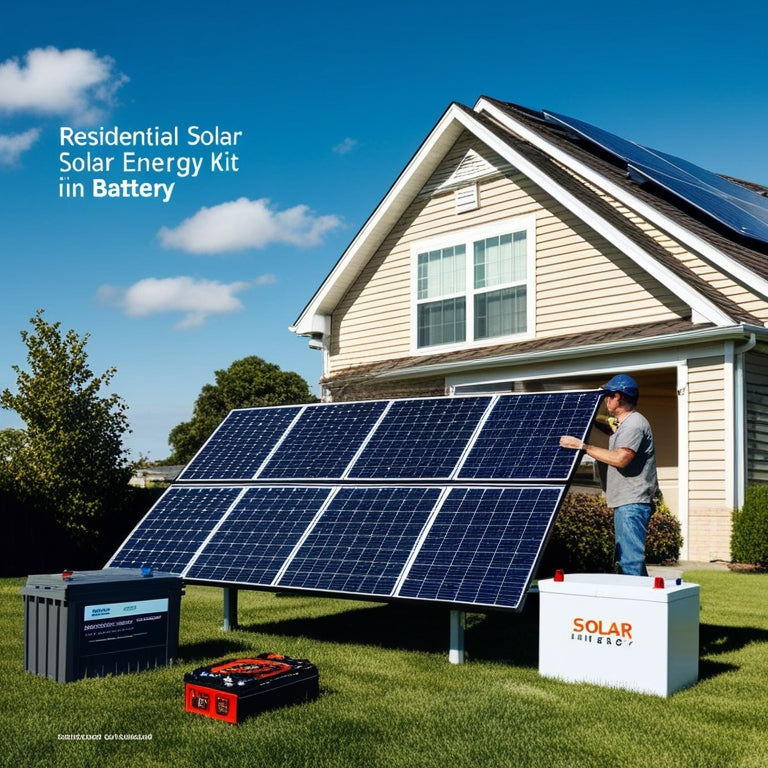
Residential Solar Energy Kits
You can shift to a more sustainable and cost-effective energy solution by...
-

Residential Solar Panels
Considering installing residential solar panels can considerably reduce your energy bills and...
-
Solar Array Kits
When choosing a solar array kit, you'll want to assess your energy...
-

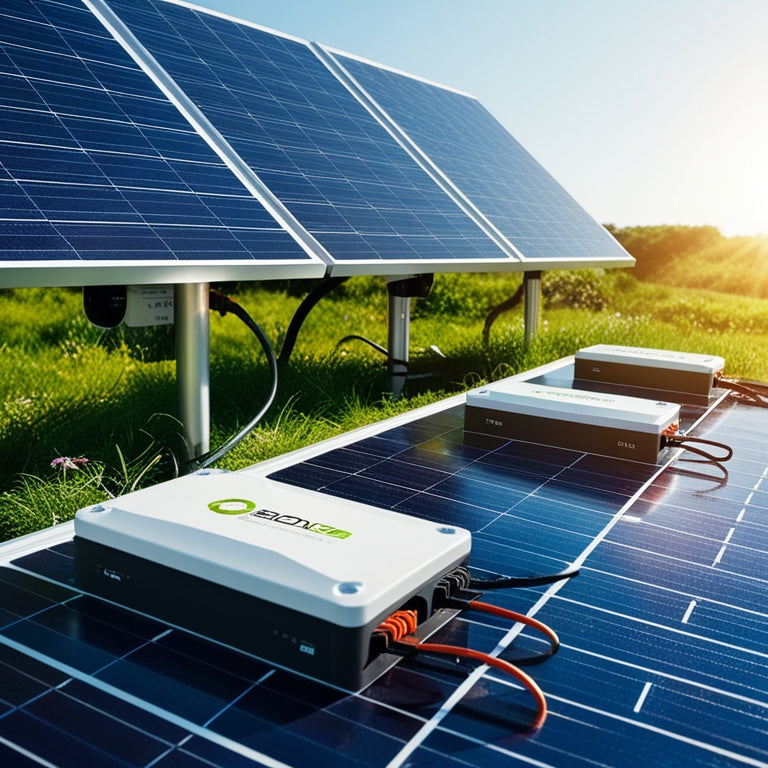
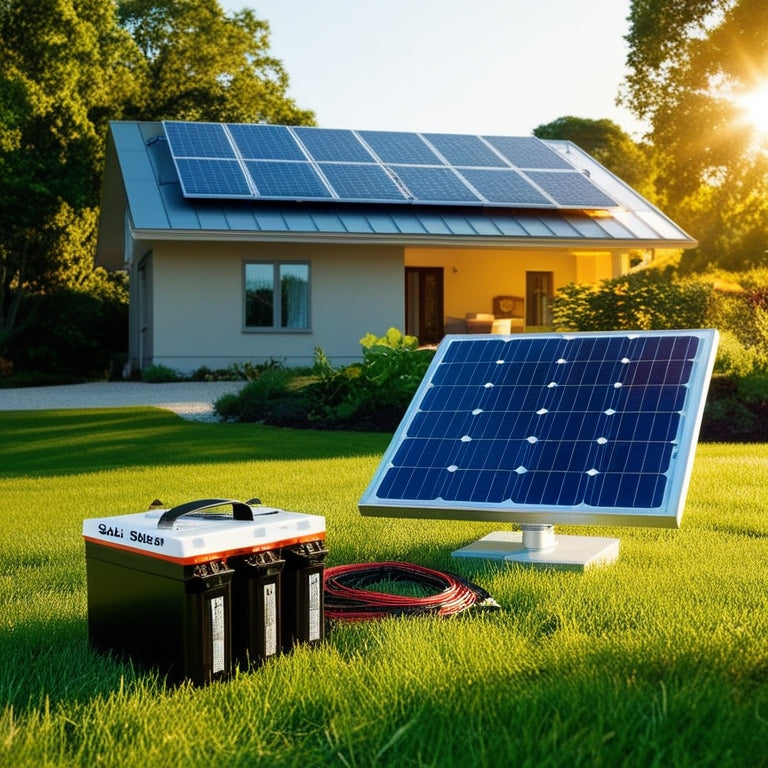
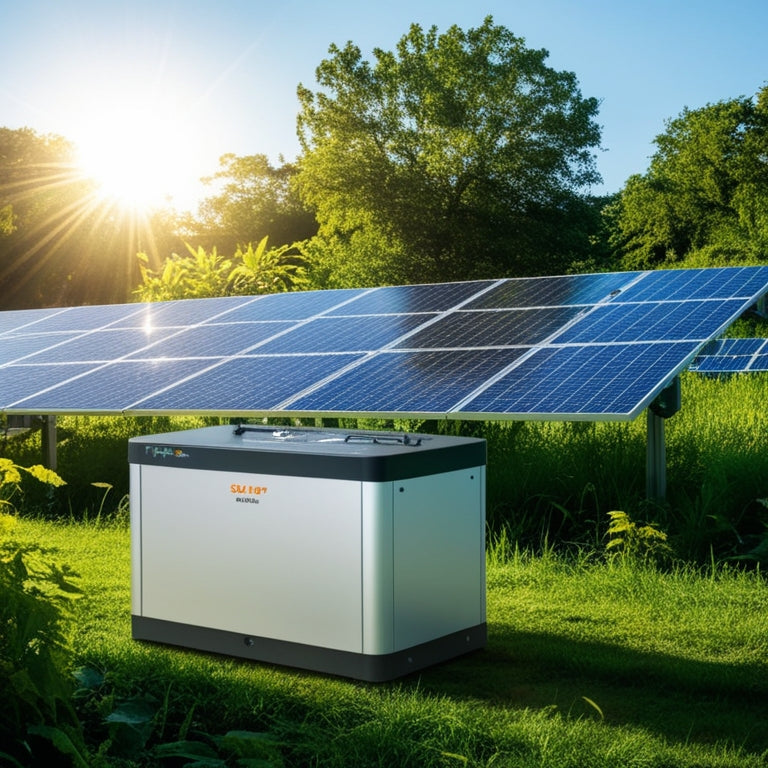
Solar Backup Batteries
You're considering solar backup batteries for a reliable power source during outages...
-
Solar Backup Systems
With a solar backup system, you can achieve energy independence and minimize...
-
Solar Energy Batteries
You're considering solar energy batteries for their ability to store excess energy,...
-
Solar Energy Kits
Solar energy kits are your key to cost-effective energy independence. Designed for...
-
Solar Energy Systems
When you choose solar energy systems, you're opting for a sustainable and...
-

Solar Home Panels
Solar home panels, including monocrystalline, polycrystalline, thin-film, and bifacial types, offer diverse...
-
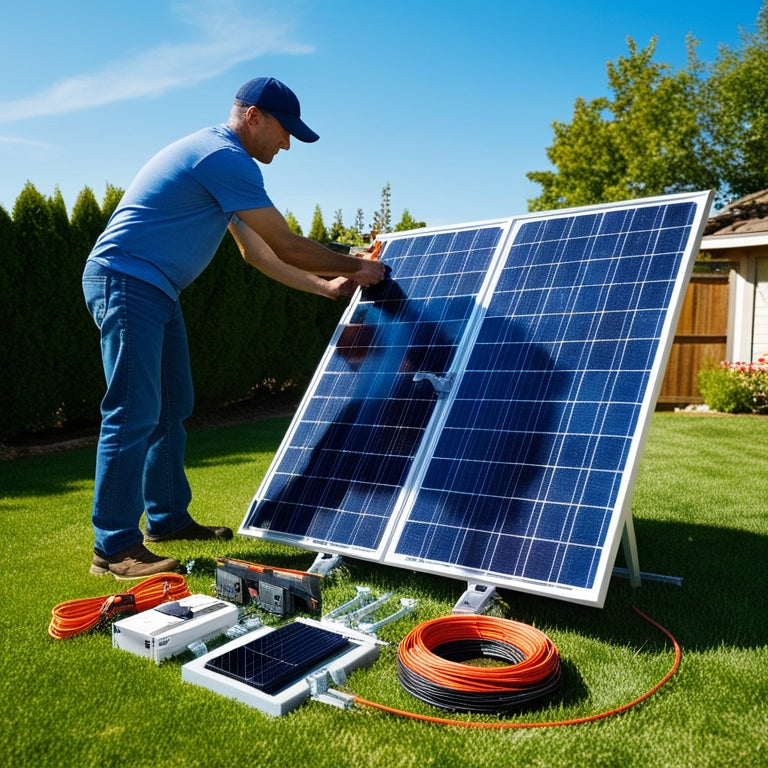
Solar Installation Kits
Solar installation kits offer a versatile solution for achieving energy independence and...
-
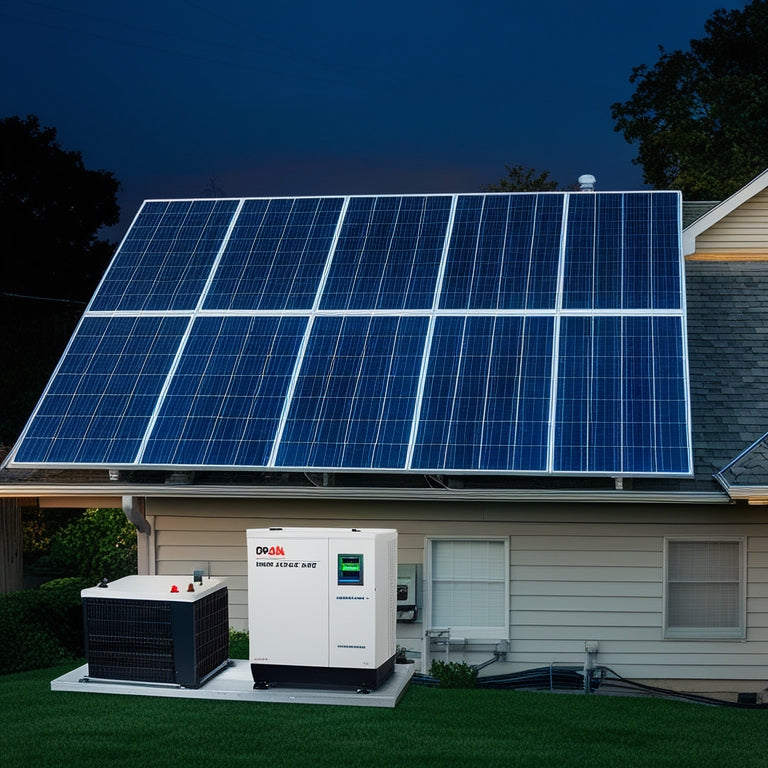
Solar Installation System
A solar installation system converts sunlight into usable electricity, enabling energy independence...
-
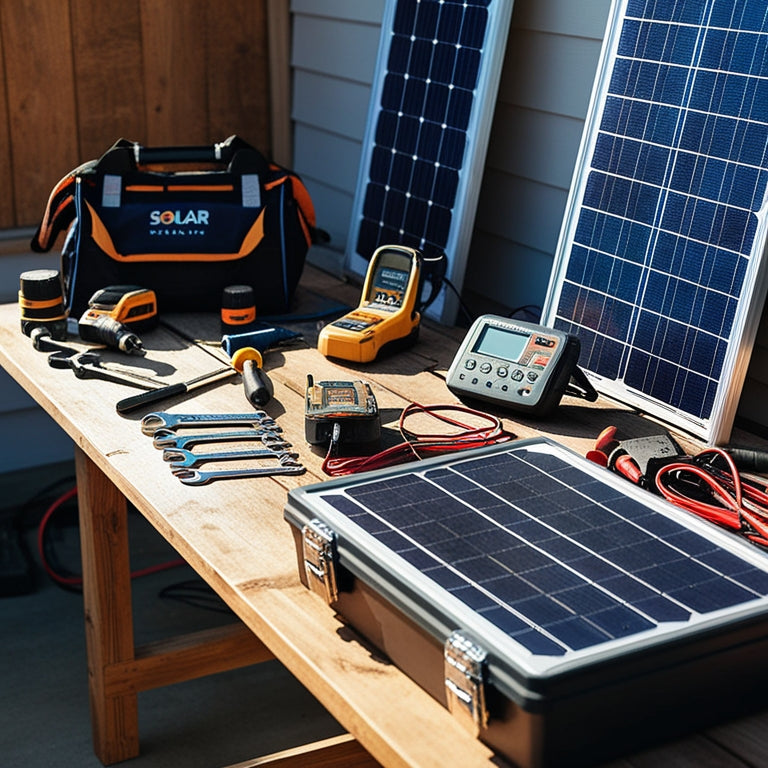
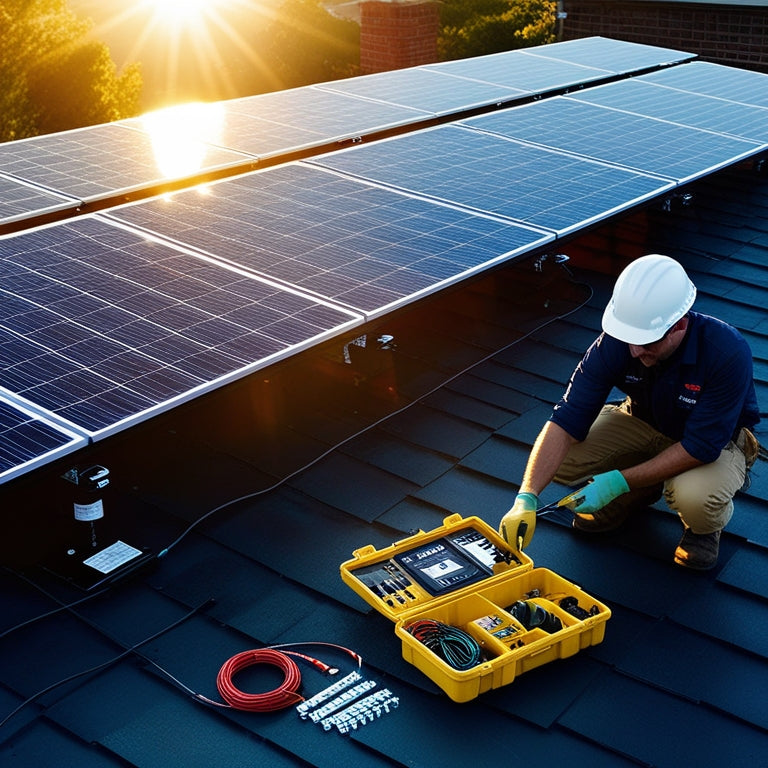
Solar Installation Tools
When setting up solar panels, you'll need reliable and precise tools to...
-
Solar Kit Systems
You're exploring solar kit systems as a versatile way to integrate renewable...
-
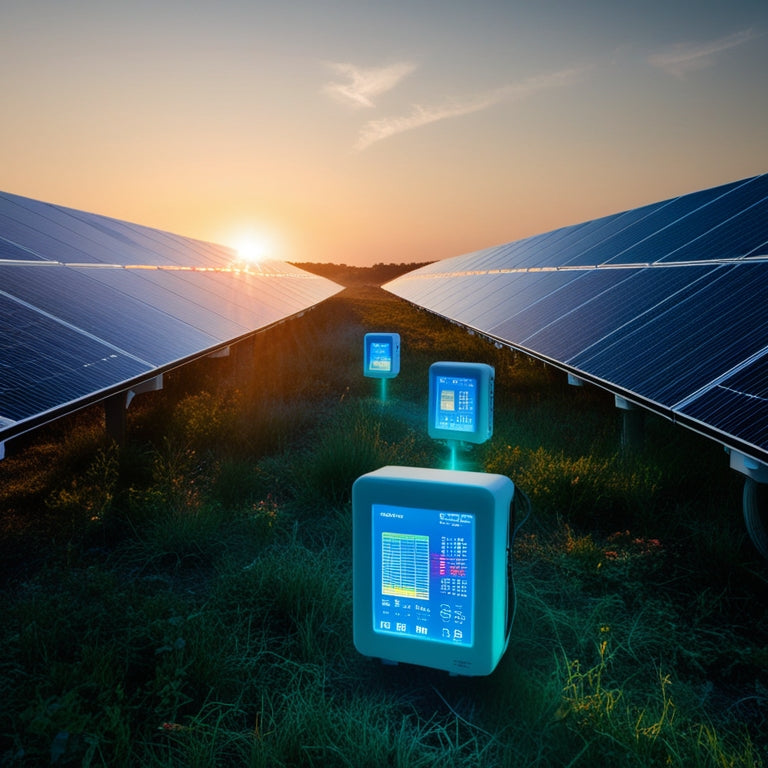
Solar Monitoring Devices
You'll find solar monitoring devices are indispensable for maximizing your solar energy...
-
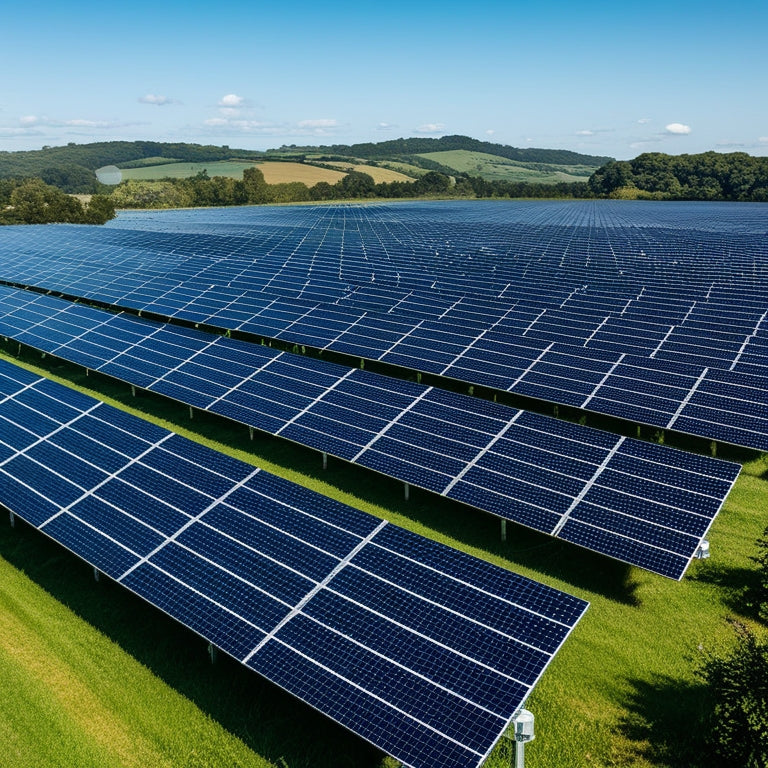
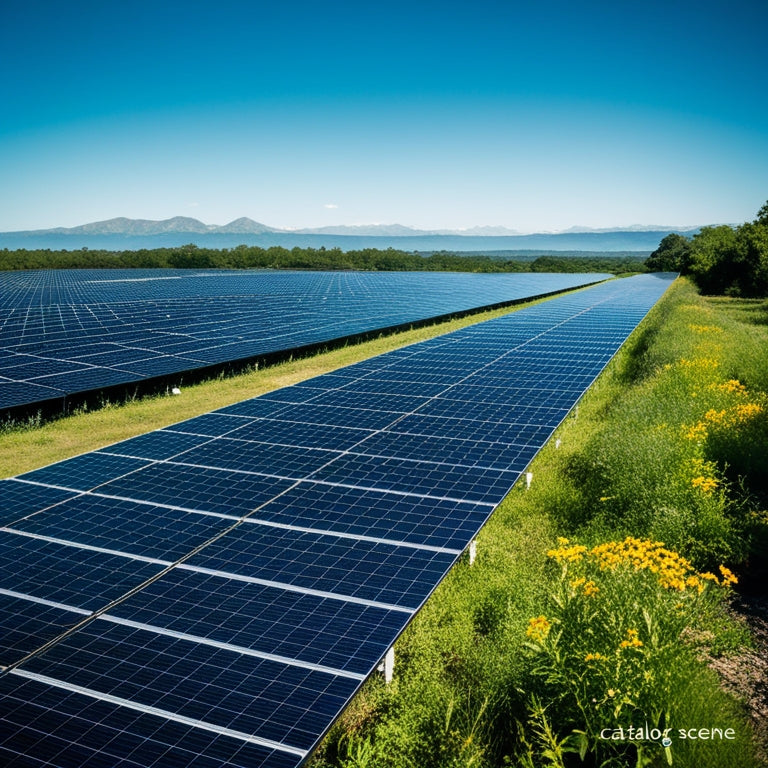
Solar Panel Arrays
When considering solar panel arrays, you'll be exploring a variety of options...
-
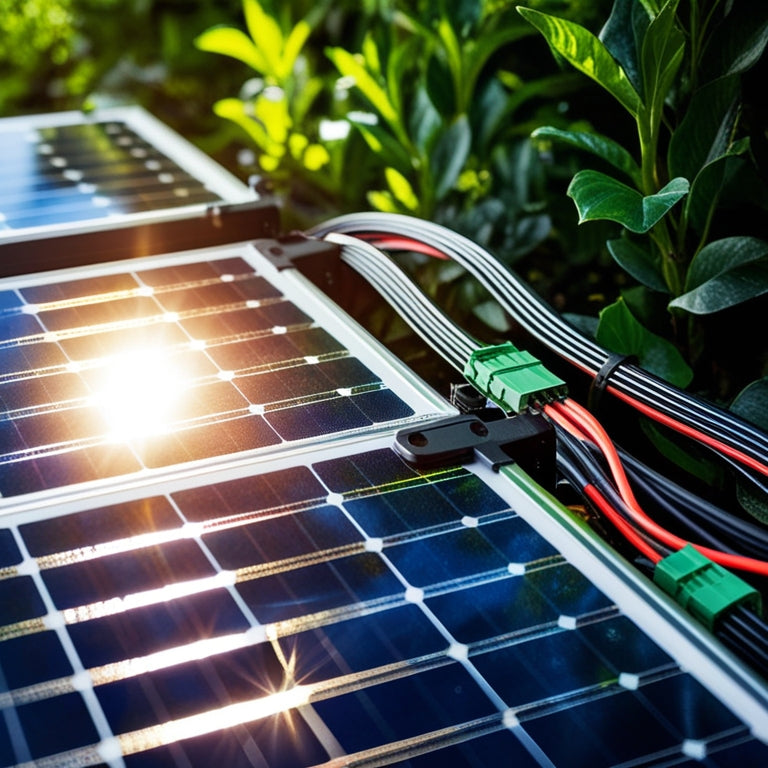
Solar Panel Connectors
You're considering solar panel connectors, essential components for efficient energy transfer and...
-

Solar Panel Kits
You're considering solar panel kits, a smart choice for efficient and eco-friendly...
-

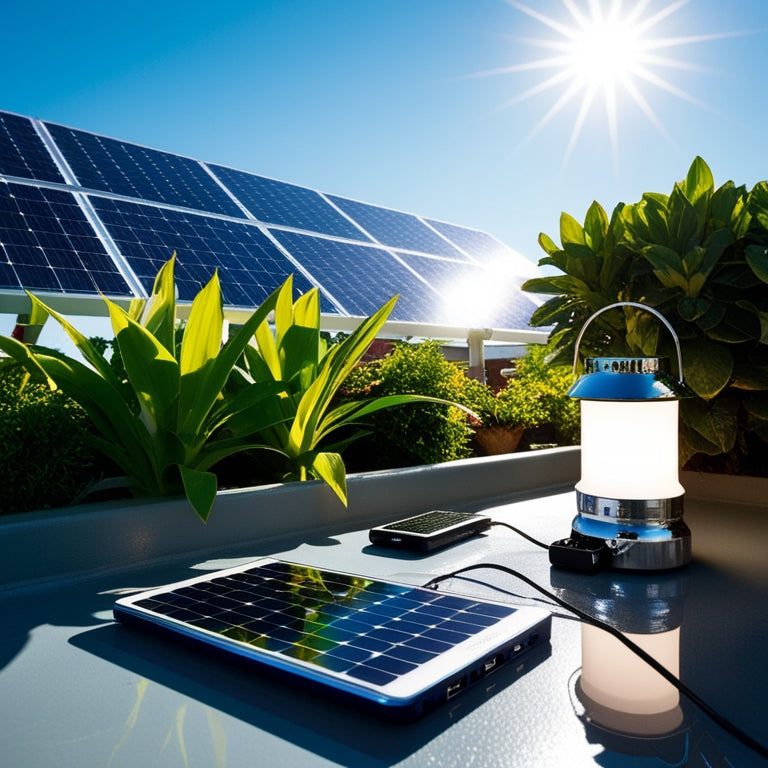
Solar Panel Lights
You'll maximize outdoor illumination by using solar panel lights, utilizing photovoltaic technology...
-

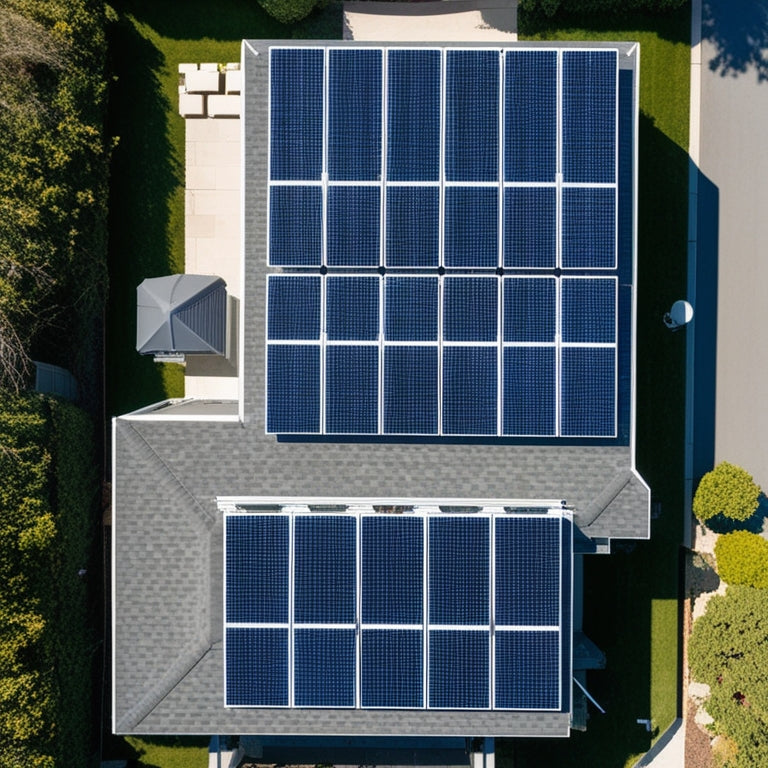
Solar Panel Systems
When considering solar panel systems, you'll uncover a sustainable and cost-effective energy...
-
Solar Panels For Home
When choosing solar panels for your home, consider options to match your...
-
Solar Panels For Residential Use
Investing in residential solar panels is a smart move for enhancing your...
-
Solar Power Accessories
You can enhance your solar energy system's performance and efficiency by incorporating...
-
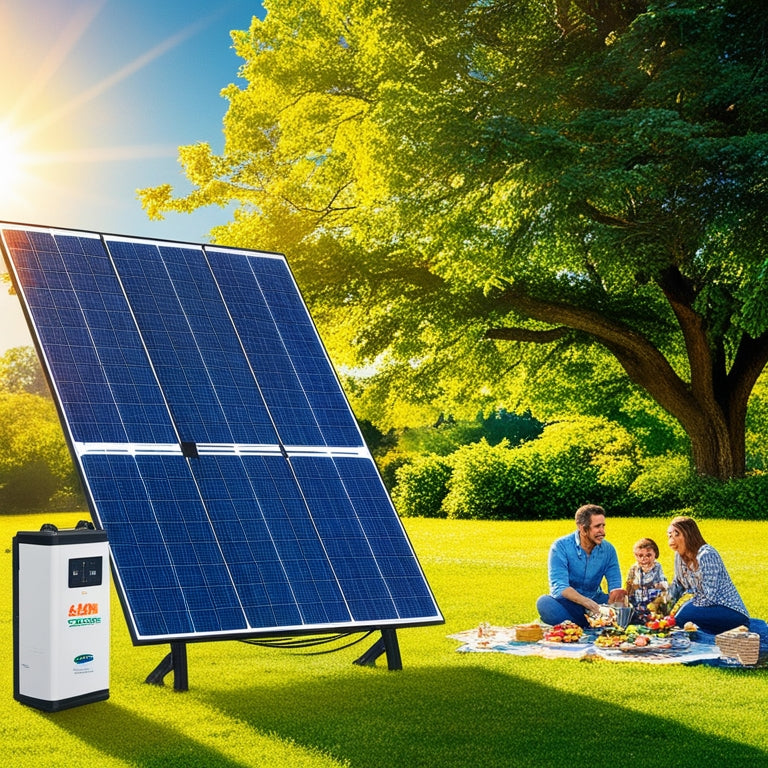
Solar Power Generators
You're exploring a smart leap toward renewable energy with solar power generators....
-
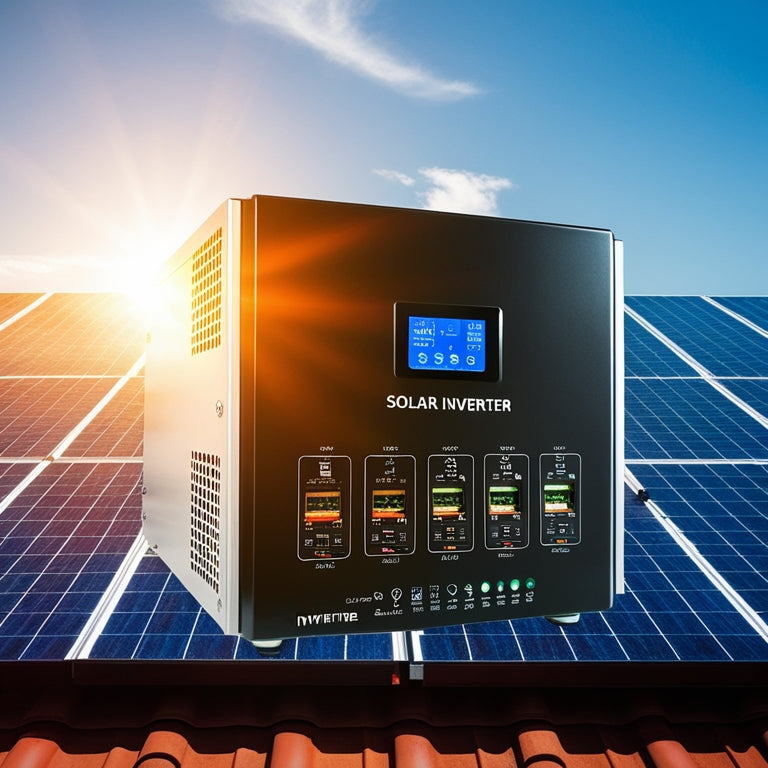
Solar Power Inverters
Solar power inverters are critical for converting the direct current (DC) from...
-
Solar Power Panels
When considering solar power panels, you have a selection of types including...
-
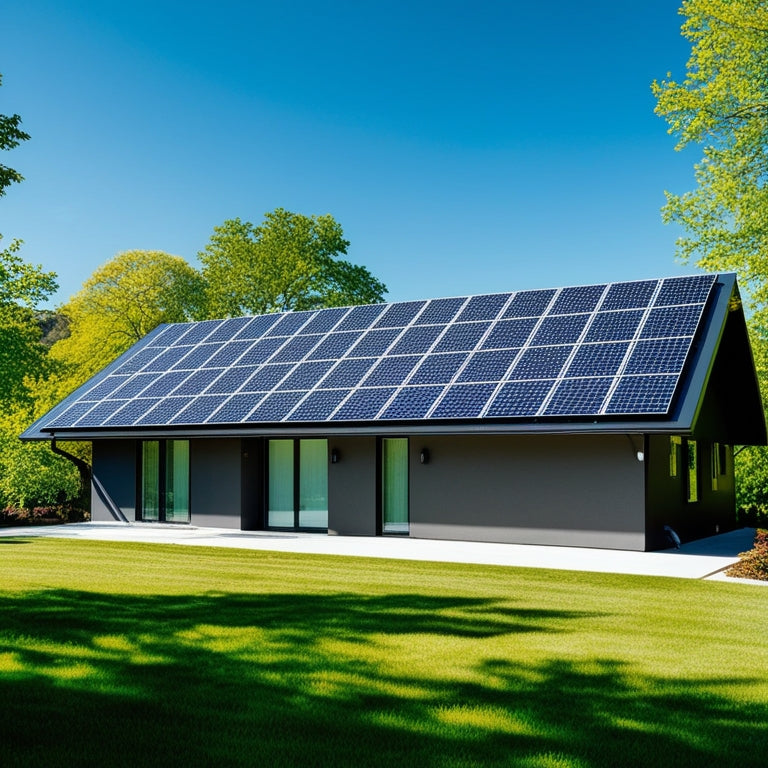
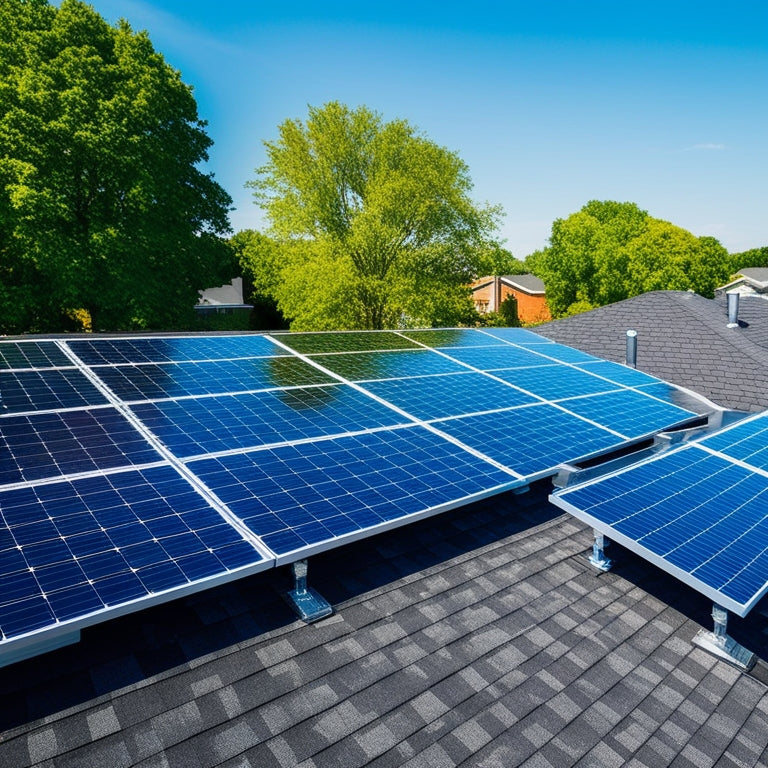
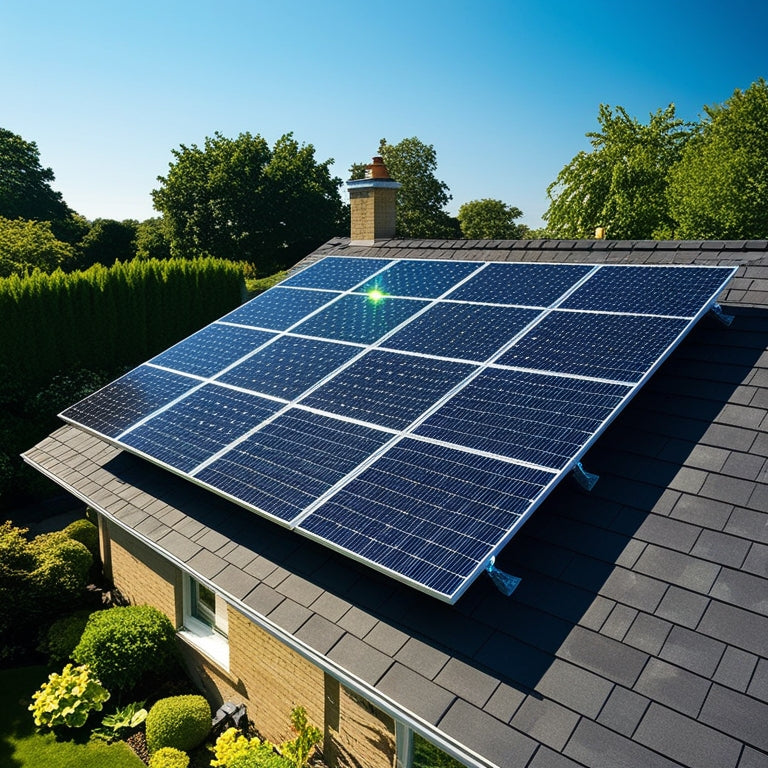
Solar Roof Panels
You're considering solar roof panels to cut electricity costs and increase home...
-
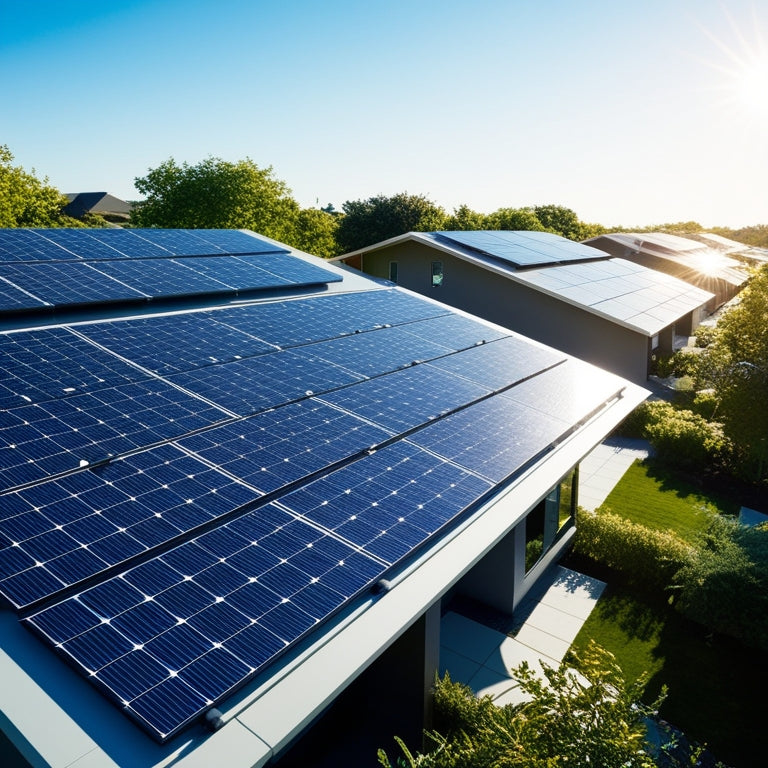
Solar Roof Systems
Solar roof systems offer a state-of-the-art approach by seamlessly integrating photovoltaic technology...
-
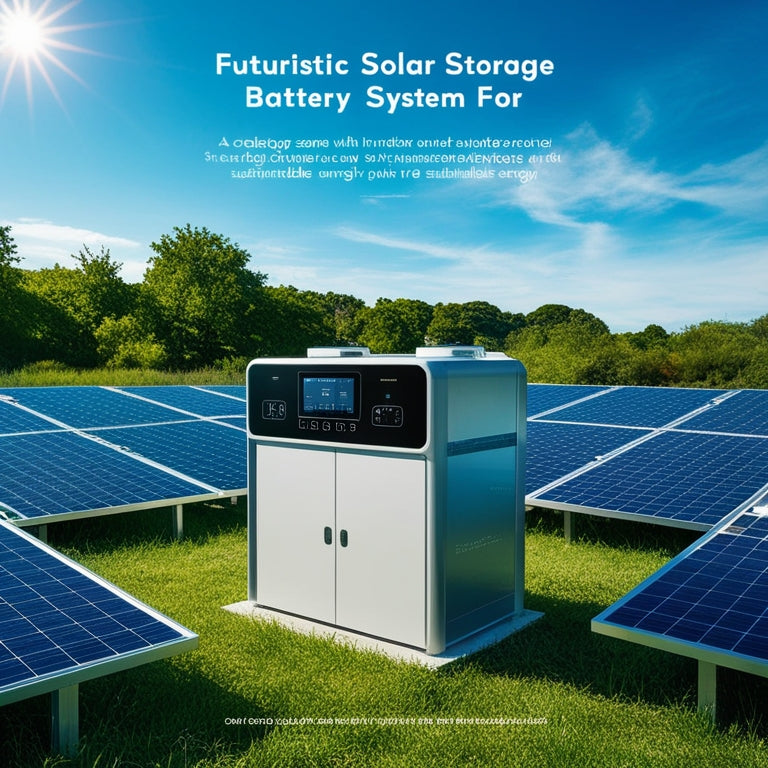
Solar Storage Batteries
You're considering solar storage batteries, which are essential for maximizing solar energy...
-
Solar System Batteries
When selecting solar system batteries, assess your energy consumption data to determine...
-

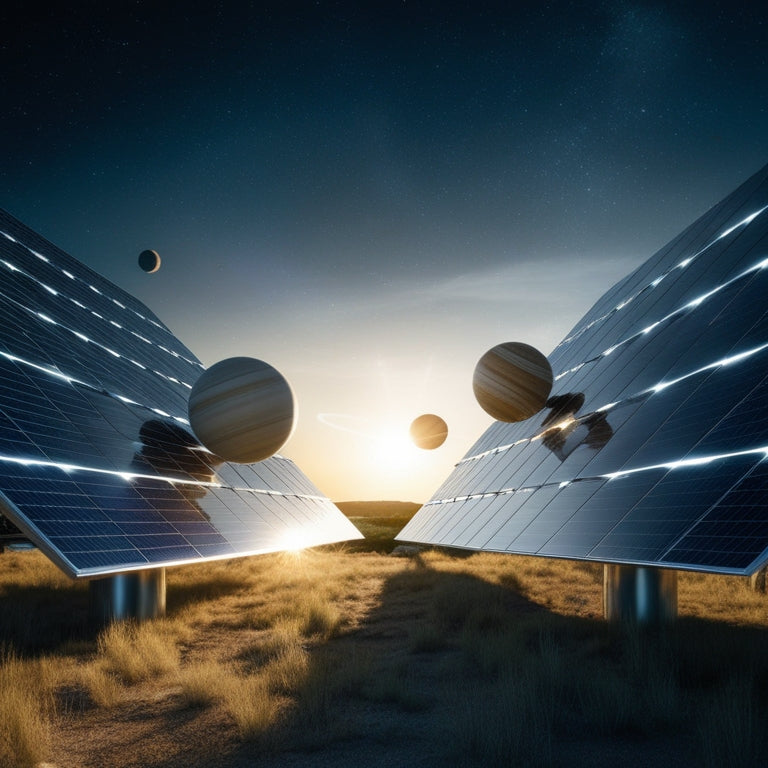
Solar System Kits
Solar system kits offer an engaging hands-on approach to understanding astrophysical concepts...
-
Solar System Panels
By choosing solar system panels, you'll enhance energy efficiency and decrease environmental...
-

Solar Tracking Panels
Solar tracking panels enhance solar energy efficiency by adjusting to the sun's...
-

Solar Tracking Systems
You're tapping into solar tracking systems to optimize energy efficiency by precisely...