Is a Broken Solar Panel Troubleshooting a 7-Step Process
You can troubleshoot a broken solar panel using a structured 7-step process that covers problem identification, visual inspections, electrical connection checks, inverter functionality verification, energy production data analysis, and manufacturer consultation. Start by identifying the problem source, then inspect the solar panel array for damage or wear, and check electrical connections for tightness and signs of overheating. Next, verify the inverter's functionality, analyze energy production data, and perform visual inspections to identify issues. Finally, consult the manufacturer's guidelines for specific troubleshooting procedures and safety precautions. By following these steps, you'll be well on your way to diagnosing and fixing the issue.
Key Takeaways
- A broken solar panel troubleshooting process typically involves 7 steps: identifying the problem source, inspecting the array, checking electrical connections, verifying inverter functionality, analyzing energy production data, visual inspection guidelines, and manufacturer consultation.
- The 7-step process helps troubleshooters systematically identify and address issues affecting solar panel performance, ensuring efficient and effective repairs.
- Following a structured process ensures that all potential causes of malfunctions are considered, reducing the risk of overlooking critical issues.
- A comprehensive troubleshooting process like the 7-step method can help minimize downtime, reduce repair costs, and optimize solar panel energy output.
- By breaking down the troubleshooting process into manageable steps, solar panel owners and technicians can quickly identify and resolve issues, getting their systems back online efficiently.
Identify the Problem Source
When a solar panel malfunctions, it's essential to pinpoint the root cause of the issue to implement effective repairs. You need to identify whether the problem lies within the panel itself or if it's an external factor.
Start by checking the panel's electrical connections and wiring for any signs of damage or corrosion. Faulty components, such as loose or corroded connections, can prevent the panel from functioning properly.
Next, consider environmental factors that might be affecting the panel's performance. Check if the panel is exposed to excessive heat, moisture, or debris.
Verify that the panel is properly installed and angled to maximize energy absorption. If you've recently installed new equipment or made changes to the system, it may be interfering with the panel's operation.
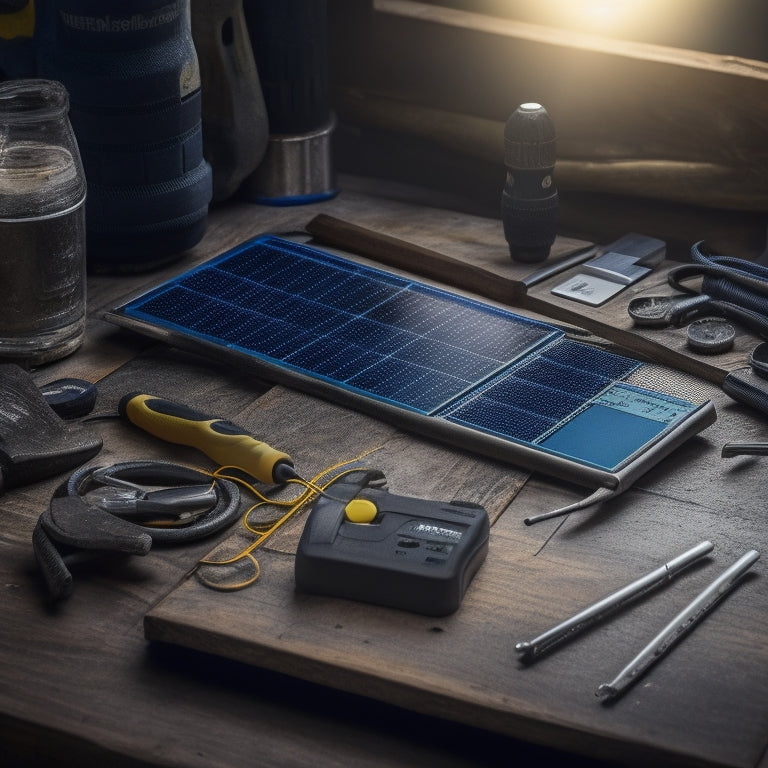
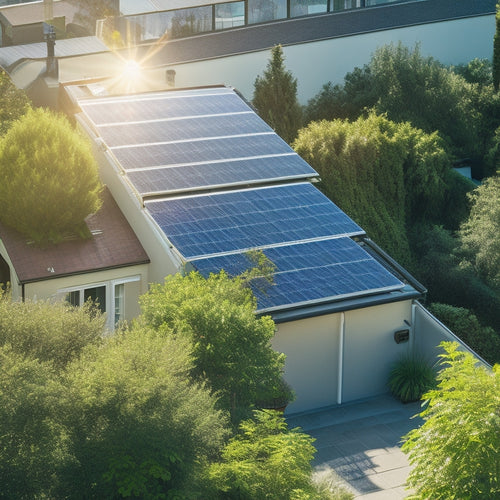
Inspect the Solar Panel Array
Beyond the electrical connections and wiring, inspect the solar panel array itself for signs of damage or malfunction.
You're looking for cracks, broken glass, or loose connections between panels. Check for debris accumulation, such as dirt, leaves, or snow, which can reduce energy output.
Perform a visual inspection of the panels, checking for signs of wear and tear, such as fading, discoloration, or warping.
Verify that the panels are securely fastened to the mounting system and that the system itself is stable.
As part of your solar panel maintenance, routine inspections can help identify potential issues before they become major problems.
Take note of any panels that are underperforming or not producing power at all. Compare the performance of each panel to identify any anomalies.
Document your findings, taking photos or videos to support your assessment.
This will help you track any changes over time and prioritize repairs or replacements as needed.
Check Electrical Connections
Having inspected the solar panel array for signs of damage or malfunction, you'll now shift your attention to the electrical connections that link the panels together and to the inverter.
This critical step guarantees that the electrical energy generated by the solar panels is safely and efficiently transmitted to your power conversion system.
When checking electrical connections, prioritize the following:
-
Tighten loose connections: Verify that all connectors, terminals, and wire nuts are securely fastened to prevent electrical arcing and fires.
-
Inspect for signs of wear: Look for signs of overheating, corrosion, or physical damage that may compromise the integrity of the electrical connections.
-
Check for proper grounding: Ascertain that all electrical components are properly grounded to prevent electrical shock and guarantee the safe operation of your solar panel system.
- Verify polarity: Confirm that the positive and negative terminals are correctly connected to prevent damage to your inverter or other system components.
Verify Inverter Functionality
You'll now need to verify the inverter's functionality to isolate the issue.
Start by checking the inverter's power status, analyzing any error codes it may be displaying, and inspecting the LED lights for any indications of a problem.
These steps will help you identify if the inverter is malfunctioning or if the issue lies elsewhere in the system.
Inverter Power Status Check
One of the most critical components in a solar panel system is the inverter, which converts DC power from the solar panels to AC power for your home or business.
As you troubleshoot your broken solar panel, it's crucial to verify the inverter's functionality.
You'll want to check the inverter's power status to determine if it's producing any power at all. This involves inspecting the inverter's display screen or monitoring system to see if it's indicating any output.
If you're not getting any power, it may be due to various reasons such as:
- Inverter failure: The inverter itself could be faulty, which is more common in older systems with a shorter inverter lifespan.
- DC power issues: The DC power supply from the solar panels might be interrupted, preventing the inverter from functioning.
- Grid connection problems: The inverter may not be able to synchronize with the grid, hindering power production.
- Inverter type limitations: Certain inverter types, such as string inverters, can be more prone to power issues than others, like microinverters.
Inverter Error Code Analysis
Most modern inverters are equipped with an error code system that helps identify specific issues hindering their functionality. This system provides a concise and accurate way to diagnose problems, guaranteeing you can quickly pinpoint the root cause of the issue.
When you encounter an error code, refer to the inverter's user manual or manufacturer's website for error code interpretation. This will give you a detailed description of the problem, allowing you to take corrective action.
During error code analysis, verify inverter compatibility with the solar panel system. Ascertain the inverter is configured correctly and that all connections are secure.
Check the inverter's display or remote monitoring platform for any error messages or alerts. Take note of the specific error code and its corresponding description. This information will guide your troubleshooting process, helping you identify the faulty component or misconfiguration.
Inverter LED Light Inspection
After interpreting the error code, it's time to verify the inverter's functionality by inspecting its LED lights.
You'll want to check the LED light indicators to confirm the inverter is operating correctly. This step is essential in identifying any potential issues that might be affecting your solar panel's performance.
Here are some key things to look for during the inspection:
- Green light: Indicates the inverter is functioning normally and producing power.
- Red light: Signals an error or fault, which you've already identified through the error code analysis.
- Blinking light: Typically indicates a communication issue or a problem with the inverter's internal components.
- No light: Suggests a power supply issue or a faulty inverter.
Analyze Energy Production Data
You'll want to examine your solar panel system's daily energy output to identify any anomalies or trends that could indicate a problem.
A thorough energy pattern analysis will help you pinpoint issues, such as reduced energy production during specific times of the day or week.
Daily Energy Output
One of the first indicators of a broken solar panel is a drop in daily energy output. As you monitor your solar panel's performance, you'll want to keep a close eye on this metric. A decrease in daily energy output can be a sign of a problem, even if it's just a small one.
Here are some key indicators to look out for:
-
Unexplained dips: If your daily energy output suddenly drops without a clear reason, it may indicate a broken panel.
-
Consistent underperformance: If your solar panel is consistently producing less energy than expected, it could be a sign of a broken or damaged panel.
-
Seasonal discrepancies: If your solar panel's energy output varies greatly from one season to the next, it may indicate a problem with the panel's energy efficiency.
- Total shutdown: If your solar panel stops producing energy altogether, it's a clear sign that something is wrong.
Energy Pattern Analysis
Patterns of energy production hold the key to identifying issues with your solar panel. By analyzing energy production data, you'll uncover trends and anomalies that can indicate problems.
Start by reviewing your solar panel's historical energy output data, typically available through your inverter's monitoring system or energy meter. Look for unusual dips in energy production, which could signal shading, soiling, or malfunctioning components.
Next, compare your solar panel's energy production to your energy consumption patterns. Are there periods of high energy consumption that your solar panel isn't meeting? This could indicate a performance optimization issue.
Identify the times of day when your energy consumption peaks and compare them to your solar panel's energy output during those times. This analysis will help you pinpoint areas where your solar panel can be optimized to better match your energy needs.
Perform Visual Inspections
As you begin troubleshooting your broken solar panel, take a step back to visually inspect the entire system. This vital step helps identify obvious issues that might be hindering your panel's performance.
Start by examining the panel's surface for any signs of debris, dirt, or physical damage.
Check for the following common issues:
-
Dirty or dusty panels: A clean panel is important for peak energy production. Inspect for any dirt, dust, or debris that might be obstructing sunlight.
-
Loose or damaged connections: Verify that all connections are secure and not damaged. Loose connections can lead to energy loss and even electrical shock.
-
Broken or cracked glass: Inspect the panel's glass surface for any cracks or breaks. Damaged glass can compromise the panel's integrity and affect energy production.
- Overgrown vegetation: Make sure that nearby vegetation isn't obstructing sunlight or casting shadows on the panel.
Regular visual inspections are essential for panel maintenance and can help prevent issues before they escalate.
Consult Manufacturer Guidelines
Your visual inspection has likely turned up some potential issues, but before you start making repairs, consult your solar panel's manufacturer guidelines to guarantee you're taking the right approach.
This step is essential to ensure you're addressing the problem correctly and avoiding any further damage. The manufacturer's guidelines will provide you with specific troubleshooting procedures and repair recommendations customized to your particular solar panel model.
Review the guidelines to understand the recommended troubleshooting process, as well as any specific safety precautions you need to take.
Additionally, check if your solar panel is still under warranty, as this may impact your repair options and warranty coverage.
Reaching out to manufacturer support can also provide useful information and guidance throughout the troubleshooting process.
Frequently Asked Questions
Can I Fix a Broken Solar Panel Myself Without Professional Help?
You can attempt DIY repairs for common issues like loose connections or faulty inverters, but be cautious, as more complex problems may require professional knowledge to avoid further damage or safety risks.
What Causes Solar Panels to Degrade Faster Than Expected?
You'll find that solar panels degrade faster than expected due to factors like poor installation quality, harsh weather impact, inadequate maintenance practices, and manufacturing defects, which reduce panel efficiency, while environmental factors and natural aging effects also play a role.
Are Broken Solar Panels Covered Under Warranty or Insurance?
Coincidentally, you're wondering about warranty coverage and insurance claims for broken solar panels. You'll be relieved to know that most manufacturers offer warranties covering defects and performance degradation, while homeowners' insurance may cover accidental damage or environmental factors.
Can I Replace a Single Broken Panel or the Entire Array?
You're evaluating panel replacement options, considering whether to swap one broken panel or the entire solar array. Assess the array's age, condition, and warranty status to determine the most cost-effective and efficient approach for maximum power output.
How Long Does a Solar Panel Troubleshooting Process Typically Take?
Like a detective on the case, you're wondering how long it'll take to crack the code of your broken solar panel. Typically, the troubleshooting duration can range from a few hours to several days, depending on the complexity of the issue, affecting your overall repair timeline.
Conclusion
You've now perfected the 7-step process to troubleshoot a broken solar panel. But here's the reality check: most issues can be prevented with regular maintenance. The truth is, a well-maintained solar panel array can last up to 30 years or more. By following these steps, you'll not only identify and fix problems but also guarantee peak energy production. So, don't wait until it's too late - stay on top of your solar panel's health to reap the benefits of clean, renewable energy.
Related Posts
-
How Solar Panels Reduce Electricity Bills
Solar panels can drastically cut your electricity bills by utilizing sunlight to generate your own energy. This decre...
-

Solar Power Savings for Environmentally Aware Consumers
Switching to solar power lets you drastically cut your carbon footprint while saving money in the long run. Each kilo...
-

Energy-Efficient Home Upgrades for Cost Reduction
To reduce costs with energy-efficient home upgrades, focus on essential improvements like smart thermostats, energy-e...


