Installing Solar Panels at Home A 7 Step Installation Guide
You'll start by evaluating your home's solar potential, examining rooftop characteristics, local climate, and sunlight exposure to determine ideal panel placement. Next, choose the right solar panel, considering efficiency, durability, and cost. Before installation, prepare your roof and surroundings, ensuring a clear and safe working area. Then, install the solar mounting system, connecting panels together and selecting an inverter and monitoring system. Finally, perform a thorough inspection and testing to validate your system's readiness. With these steps, you'll be well on your way to utilizing the sun's energy; now, take the next step to access the full potential of your solar panel installation.
Key Takeaways
- Assess your home's solar potential by evaluating rooftop characteristics, local climate, and sunlight exposure to determine energy generation capabilities.
- Choose the right solar panel type based on factors like efficiency, durability, and cost, considering warranty options and installation location impact.
- Prepare for installation day by clearing the roof area, trimming tree branches, and relocating vehicles to ensure a safe and efficient process.
- Ensure a secure and compatible solar mounting system by selecting appropriate hardware and performing a shading analysis to optimize energy output.
- Install the inverter and monitoring system correctly, following manufacturer's guidelines and safety precautions to track energy production and ensure optimal performance.
Assessing Your Home's Solar Potential
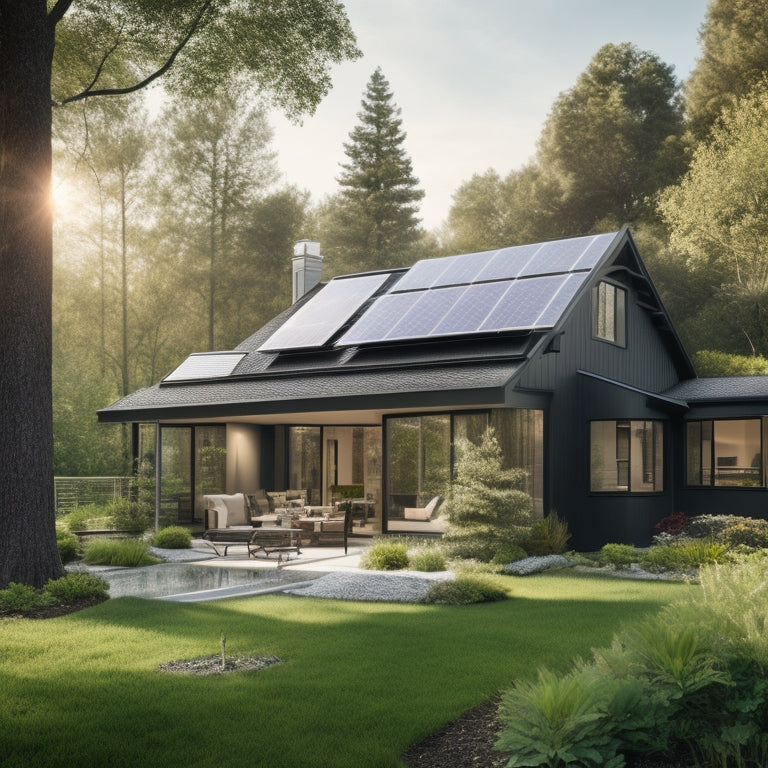
Your home's solar potential is a critical factor in determining whether installing solar panels is a worthwhile investment. To assess this potential, you'll need to evaluate your rooftop's characteristics, including its orientation, size, and shading.
Rooftop orientation is particularly important, as it affects the amount of solar energy your panels can capture. A south-facing rooftop with little to no shading is ideal, as it receives the most direct sunlight throughout the day.
Next, consider your local climate and the amount of sunlight your area receives annually. If you live in a region with plenty of sunny days, your solar panels will generate more electricity.
You can use online tools or consult with a solar expert to determine your location's solar irradiance, which measures the amount of solar energy your area receives.
Choosing the Right Solar Panel
Choosing the Right Solar Panel
Three key factors determine the suitability of a solar panel for your home: efficiency, durability, and cost. You'll want to take these factors into account when selecting the right solar panel for your installation.
There are three main solar panel types: monocrystalline, polycrystalline, and thin-film. Monocrystalline panels offer high efficiency ratings, but at a higher cost. Polycrystalline panels are more affordable, but with slightly lower efficiency. Thin-film panels are the most budget-friendly option, but they're less efficient and take up more space.
When evaluating cost considerations, look beyond the initial purchase price. Take into account warranty options, which can range from 10 to 30 years, and the expected energy savings over time.
The installation location also plays an important role, as panels installed in shaded areas won't perform as well as those in direct sunlight. Additionally, take into account the aesthetic impact of the panels on your home's exterior.
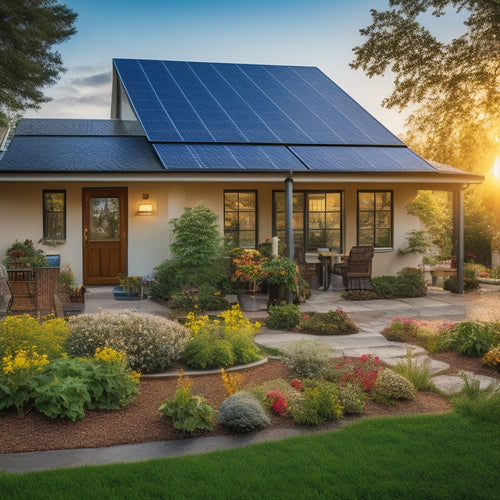
Preparing for Installation Day
With installation day approaching, it's vital to prepare your home and family for the process. This step is often overlooked, but it's essential for a smooth and efficient installation.
Proper site preparation guarantees the installation team can get to work immediately, minimizing delays and reducing the installation timeline. Here's what you need to do:
-
Clear the area around your roof of debris, toys, and furniture to provide a safe workspace for the installation team.
-
Trim any tree branches that may be obstructing the roof or surrounding areas to guarantee easy access.
-
Move any parked vehicles to a different location to provide a clear path for the installation team's equipment and vehicles.
- Make sure all pets are kept indoors or away from the installation area to prevent any potential distractions or hazards.
Installing Solar Mounting System
You'll need to assess your roof's size to determine the ideal solar panel layout, guaranteeing a secure and efficient installation.
Next, you'll select the mounting hardware that suits your roof type, whether it's a pitched, flat, or metal roof.
Roof Size Assessment Needed
Evaluating your roof's size is an essential step in the solar panel installation process, as it directly impacts the number of panels you can install and the system's overall energy output.
You'll need to determine the available roof space, considering obstacles like vents, skylights, and chimneys.
-
Assess your roof's pitch, ensuring it's within the suitable range for solar panels (typically between 15° and 40°).
-
Perform a shading analysis to identify areas with excessive shade, which can greatly reduce energy output.
-
Measure the length and width of your roof to calculate its total square footage.
- Consider the orientation of your roof, as south-facing roofs receive the most sunlight and are ideal for solar panels.
Mounting Hardware Selection
Three essential components make up a solar mounting system: the roof anchors, the racking, and the clamps.
You'll need to select the right mounting hardware for your solar panel installation, guaranteeing a secure and durable connection to your roof.
When choosing mounting materials, consider factors like corrosion resistance, durability, and weight capacity.
Typically, anodized aluminum or stainless steel are preferred due to their high strength-to-weight ratio and resistance to corrosion.
You may also opt for specialized mounting materials, such as those designed for metal or tile roofs.
Mounting types can be categorized into two main groups: roof-mounted and ground-mounted systems.
Roof-mounted systems are the most common, with options like flush mount, tilt mount, or rail-based systems.
Ground-mounted systems, on the other hand, are ideal for larger installations or where roof space is limited.
Regardless of the mounting type, verify it's compatible with your roof's structure and local building codes.
Connecting Solar Panels Together
With the individual solar panels prepared, it's time to connect them together to form a functional array. You'll need to decide on the wiring techniques and connection types to optimize performance and guarantee safety.
When connecting solar panels, you have two options: series connection and parallel connection. Series connection increases voltage, while parallel connection increases current. You can combine both to achieve the desired output.
-
Series connection: Connect positive terminals to negative terminals, increasing voltage and reducing current.
-
Parallel connection: Connect positive terminals to positive terminals and negative terminals to negative terminals, increasing current and reducing voltage.
-
Choose the right connector types: MC4, MC3, or IP67-rated connectors guarantee secure and waterproof connections.
- Always follow safety precautions: Wear protective gear, maintain proper voltage management, and troubleshoot potential issues to avoid electrical shock or fires.
Installing Inverter and Monitoring
You've connected your solar panels, now it's time to convert DC power to AC with an inverter and set up a monitoring system to track your energy production.
When selecting an inverter, you'll need to take into account factors like efficiency, compatibility, and warranty.
Next, you'll install the inverter according to the manufacturer's instructions and configure the monitoring system to provide real-time data on your solar panel performance.
Inverter Selection Criteria
Selecting the right inverter is an essential step in installing solar panels at home, as it directly impacts the performance and efficiency of your system.
You'll need to take into account several factors to guarantee you choose the best inverter for your setup.
When evaluating inverter options, take into account the following key criteria:
-
Inverter types: String inverters, microinverters, and power optimizers each have their strengths and weaknesses. String inverters are the most common, but microinverters offer more flexibility and monitoring capabilities.
-
Efficiency ratings: Look for inverters with high efficiency ratings (e.g., 98% or higher) to minimize energy losses and maximize your system's output.
-
Compatibility: Verify the inverter is compatible with your solar panel array's voltage and current output.
- Monitoring and tracking capabilities: Take into account inverters with built-in monitoring and tracking features to help you optimize your system's performance and identify potential issues.
Inverter Installation Process
Now that you've chosen the right inverter for your solar panel system, it's time to install it. The type of inverter you've selected will dictate the installation process, so be certain to follow the manufacturer's instructions.
For string inverters, installation involves connecting the solar panels in a series to the inverter input. Microinverters, on the other hand, are installed under each solar panel.
When installing your inverter, keep efficiency factors in mind. Make sure the inverter is installed in a well-ventilated area to prevent overheating, which can reduce its efficiency.
Safety precautions are vital; always turn off the main electrical supply before starting the installation. Wiring guidelines must be followed scrupulously to prevent electrical shock or fire hazards.
Be prepared to troubleshoot issues that may arise during installation, such as incorrect wiring or inverter malfunction. Regular maintenance practices, like cleaning the inverter and checking for faults, are essential to guarantee peak performance.
Monitoring System Setup
The monitoring system setup is a critical component of your solar panel installation, as it enables real-time tracking of your system's performance and energy production. This allows you to identify any issues promptly and make data-driven decisions to optimize your system's output.
You'll need to connect your inverter to a monitoring system, which can be done through a wired or wireless connection. The monitoring system collects data on your solar panel's performance and sends it to a central platform for analysis.
This platform provides performance analytics and observations, enabling you to:
- Track your energy production in real-time
- Monitor your system's performance and identify potential issues
- Receive alerts and notifications for system faults or underperformance
- Analyze your energy usage and optimize your consumption
With a sturdy solar monitoring system in place, you'll be able to maximize your energy output, reduce your carbon footprint, and enjoy the full benefits of your solar panel installation.
Final Inspection and Testing
How thoroughly have you prepared your solar panel system for its maiden voyage? Now's the time to verify that every component is securely fastened, every wire is properly connected, and every electrical component is functioning as intended.
During the final inspection, you'll want to scrutinize the system's performance, confirming it meets the required safety standards. Check that the mounting system is securely attached to your roof, and the panels are properly angled for peak energy harvesting.
Verify that the electrical connections are secure, and the inverters are functioning correctly. Don't forget to test the grounding system and confirm all safety devices are operational.
Perform a series of tests to validate the system's performance, including a visual inspection, electrical tests, and a simulation of various operating scenarios. This thorough testing will give you confidence that your solar panel system is ready to generate clean, renewable energy for your home.
Once you've completed this final step, you can switch on the system and start reaping the benefits of solar power.
Frequently Asked Questions
Can I Install Solar Panels on a Metal or Clay Tile Roof?
You can install solar panels on a metal roof, ensuring compatibility with standing-seam or corrugated metal, but with clay tile roofs, you'll need to take into account added weight, waterproofing, and potential tile damage, requiring specialized mounting systems and expert installation.
How Do I Handle Snow Accumulation on Solar Panels?
You'll need to prioritize snow removal to maintain panel efficiency; gently sweep or blow snow off panels to prevent weight damage, ensuring peak energy output, and consider investing in automated snow removal systems for ideal performance.
Are Solar Panels Affected by Shade From Nearby Trees?
Like a shadow cast on your energy dreams, nearby trees can greatly impact your solar panel performance, reducing output by up to 20%. You'll need to evaluate the shade impact and prioritize tree maintenance to maximize your solar harvest.
Can I Add More Solar Panels to My Existing System?
You can expand your solar panel system, but first, you'll need to verify system compatibility, checking your inverter's capacity and existing panel configuration to determine the feasibility of your solar panel expansion.
Do Solar Panels Increase My Home's Insurance Cost?
You'll likely see a slight increase in your insurance premium, but it's worth exploring coverage options that factor in your solar panels' value, as they can also increase your home's overall worth, ultimately offsetting the added cost.
Conclusion
As you flip the switch, the meter starts spinning backwards, and the sun's energy starts powering your home. It's a moment of synchronicity - the solar panels on your roof, the inverter humming in the background, and the monitoring system tracking every kilowatt-hour. It's a coincidence that's not a coincidence at all, but rather the culmination of a well-planned installation. You've successfully captured the sun's energy, reducing your carbon footprint and saving on your electricity bill.
Related Posts
-
How to Achieve Energy Independence at Home
To achieve energy independence at home, start by investing in renewable energy sources like solar panels, wind turbin...
-
Comparative Analysis of Top Solar Brands
To conduct a comparative analysis of top solar brands, focus on key metrics like durability, energy efficiency, and s...
-

Green Energy Alternatives for Independent Living
To enhance your independent living, consider green energy alternatives like solar panels and wind turbines. These opt...


