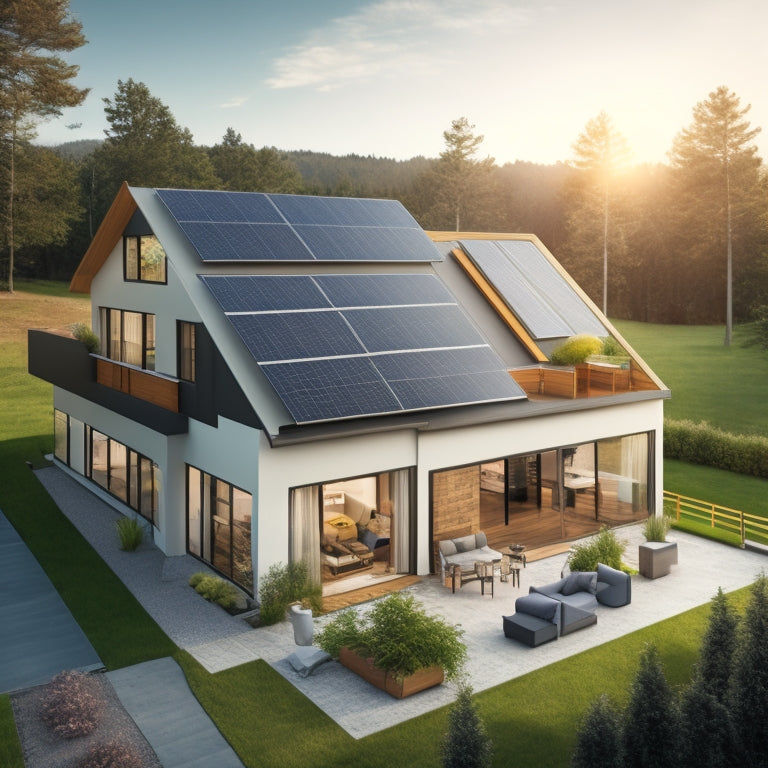
How to Build a Solar Roof in 7 Steps
You'll need to evaluate your roof's solar potential by examining its exposure to sunlight, identifying potential shading obstructions, and analyzing its orientation, pitch, and size to determine the ideal placement of solar panels and energy generation capacity. Next, you'll choose the right solar panels, considering efficiency ratings, durability, and maintenance requirements. Then, prepare your roof for installation by inspecting its condition, clearing debris, and evaluating its structural integrity. After that, install solar mounting hardware, secure the panels to the roof, connect them to inverters, and install roofing and flashing. Finally, inspect and test the system to verify everything is secure, efficient, and ready to generate clean energy - and that's just the beginning of your solar roof expedition.
Key Takeaways
- Assess the roof's solar potential by evaluating exposure, shading, and orientation to determine energy generation capacity.
- Choose durable solar panels with high efficiency ratings, low temperature coefficients, and easy maintenance features.
- Prepare the roof by inspecting its condition, clearing debris, and ensuring structural integrity to support the solar panels.
- Securely install solar panels using appropriate mounting hardware, ensuring tight connections and weather resistance.
- Connect solar panels to inverters, minimizing wire length and voltage drop, and using weather-resistant connectors.
Assess Your Roof's Solar Potential
Since your roof will be the foundation of your solar roof, it's essential to evaluate its solar potential before diving into the installation process.
You'll want to determine how much energy your roof can generate based on its solar exposure. To do this, you'll need to conduct a shading analysis to identify any obstructions that might block sunlight from reaching your solar panels. This includes trees, buildings, and even skylights or vents on your roof.
Using specialized software or consulting with a solar expert, you can generate a detailed report highlighting areas of high and low solar exposure. This will help you pinpoint the most ideal locations for your solar panels and optimize their placement for maximum energy production.
Additionally, you'll want to take into account the roof's orientation, pitch, and size, as these factors can greatly impact solar potential.
Choose the Right Solar Panels
When selecting solar panels, you'll want to evaluate the efficiency rating, which measures how well they convert sunlight into electricity.
Look for high-efficiency panels with ratings above 20% to maximize your energy output.
Additionally, you should also assess panel durability, ensuring they can withstand environmental stressors and last for at least 25 years.
Solar Panel Efficiency
With respect to utilizing the sun's energy, the efficiency of your solar panels plays a critical role in determining how much power you can generate. You want to maximize your energy output, and that's where solar panel efficiency comes in. It's measured by the percentage of sunlight that's converted into electrical energy.
Look for high-efficiency panels with ratings above 20%. These typically use advanced solar panel materials like monocrystalline silicon or bifacial cells.
When selecting solar panels, consider the temperature coefficient, which affects efficiency in hot climates. A lower coefficient means your panels will perform better in high temperatures.
You should also think about solar panel maintenance. Dirt, dust, and debris can reduce efficiency, so make sure your panels are easy to clean and come with a durable coating. Some manufacturers offer self-cleaning coatings or integrated cleaning systems.
Panel Durability Matters
High-efficiency solar panels are just the starting point for a reliable solar roof system. You need to ascertain that the panels can withstand the harsh outdoor environment and last for decades. When choosing solar panels, you should prioritize panel durability.
A key consideration is panel lifespan. Look for panels with a warranty of at least 25 years, which is the industry standard. However, some high-quality panels come with a 30-year or even 40-year warranty. A longer warranty period indicates a more reliable product.
Weather resistance is another critical factor. You want panels that can resist extreme temperatures, heavy snowfall, and strong winds. Check the panel's IP (Ingress Protection) rating, which measures its resistance to solid objects and water. A higher rating, such as IP67 or IP68, indicates better weather resistance.
Additionally, ascertain the panels have a durable frame and are made with high-quality materials that can withstand corrosion and degradation. By choosing durable solar panels, you'll enjoy a reliable and efficient solar roof system that provides power for years to come.
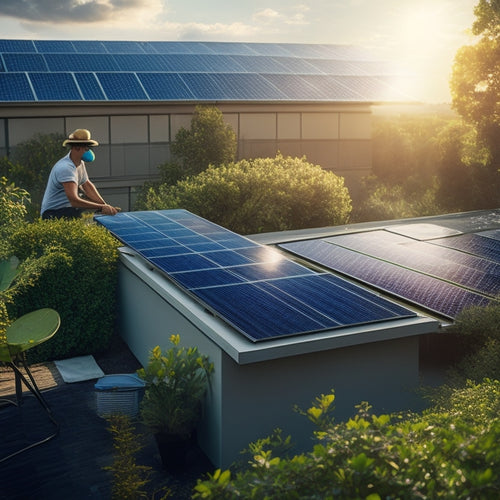
Prepare Your Roof for Installation
You'll need to assess your roof's condition, looking for signs of wear, aging, or damage that could affect the solar panel installation.
Inspect the roof for damaged, missing, or loose shingles, curled or buckled shingles, and signs of animal or insect infestation.
Clear the area around your roof of debris, branches, and obstructions to guarantee a safe and efficient installation process.
Roof Condition Assessment
Before installing a solar roof, take stock of your existing roof's condition. You need to determine if it's suitable for solar panel installation. Consider the age, material, and design of your roof. Different roof types, such as asphalt shingle, metal, or clay tile, have varying compatibility with solar panels.
Assess the roof's structural integrity, guaranteeing it can support the weight of the solar panels and withstand environmental factors like wind and snow.
Evaluate the roof's pitch, orientation, and size to determine the ideal solar panel layout. A south-facing roof with a pitch between 15° and 40° is perfect for maximum energy production.
Calculate the available roof space to determine the number of solar panels you can install. This will impact installation costs, as larger systems require more materials and labor.
A thorough roof condition assessment will help you identify potential issues, enhance your solar roof design, and guarantee a successful installation. By doing so, you'll maximize your energy output and reduce your carbon footprint.
Inspect for Damage
What hidden defects might your roof be hiding? Before installing your solar roof, it's essential to inspect for damage to prevent costly repairs down the line.
Start by examining the roof's surface for signs of wear, such as cracks, blisters, or curled shingles. Check for damaged or missing flashing around chimneys, vents, and skylights, as these can lead to water infiltration.
Look for signs of animal infestation, like nests or droppings, and inspect the gutters and downspouts for debris and functionality.
Verify that all roof penetrations, including plumbing and HVAC vents, are properly sealed. Don't forget to inspect the roof's structural integrity, including the condition of rafters, trusses, and sheathing.
Regular roof maintenance is key to damage prevention, so take this opportunity to address any issues you find. Remove any debris, repair or replace damaged components, and make sure all seals are tight.
A thorough inspection now will save you time and money in the long run, guaranteeing a successful solar roof installation.
Clear the Area
With your roof damage-free and maintained, it's time to prepare the surface for solar roof installation. This vital step, often referred to as site preparation or ground clearing, guarantees a smooth and successful installation process.
Clear the area of any debris, obstructions, or materials that could interfere with the installation. This includes:
-
Removing existing roofing materials, such as shingles, tiles, or membranes.
-
Clearing vegetation, like trees, branches, or overgrown plants, that may be too close to the roof.
-
Taking down antennas, satellite dishes, or other roof-mounted structures that could obstruct the solar panels.
- Sweeping or blowing away dirt, dust, or other loose particles that could compromise the adhesion of the solar panels.
Install Solar Mounting Hardware
You'll need to secure your solar panels to the roof using mounting hardware, guaranteeing a sturdy and watertight installation. There are several solar mounting types to choose from, including roof-ground, ballasted, and tracked systems. Each type has its own advantages and disadvantages, so it's crucial to select the one that best suits your roof's specific conditions and your energy requirements.
When selecting mounting hardware, consider factors such as durability, corrosion resistance, and adjustability. Look for hardware that's specifically designed for your roof type, whether it's asphalt shingle, metal, or tile.
Verify that the hardware is compatible with your solar panel frames and can withstand various weather conditions, including high winds and heavy snow loads.
Properly install the mounting hardware according to the manufacturer's instructions, taking care to secure it firmly to the roof. Make sure all connections are tight and watertight to prevent water ingress and electrical issues.
Connect Solar Panels to Inverters
How do the solar panels convert DC power into usable AC power for your home? This is where the solar inverter comes in.
You'll need to connect your solar panels to an inverter, which converts the DC power generated by the panels into AC power that your home can use.
When selecting a solar inverter, consider the type that best suits your system. There are three main solar inverter types: string inverters, microinverters, and power optimizers. Each has its advantages and disadvantages, so research and choose the one that fits your needs.
When connecting your solar panels to the inverter, keep the following wiring considerations in mind:
- Ensure proper wire sizing: Use wires that can handle the maximum power output of your solar panels.
- Minimize wire length: Reduce voltage drop and energy loss by keeping wire runs as short as possible.
- Use weather-resistant connectors: Protect your connections from the elements with weather-resistant connectors and sealants.
- Follow manufacturer guidelines: Adhere to the manufacturer's instructions for wiring and connection specifications.
Install Roofing and Flashing
Precision is key when it comes to installing roofing and flashing on your solar roof. You'll need to guarantee a watertight seal to protect your solar panels and the roof deck from water damage.
Start by selecting high-quality roofing materials that can withstand the elements and support the weight of your solar panels. Next, prepare the roof deck by cleaning and drying it, then apply a layer of underlayment to provide an extra barrier against water.
When installing the roofing material, use flashing techniques to direct water away from the solar panels and electrical components. Confirm the flashing is securely fastened to the roof deck and sealed to the roofing material.
Pay close attention to areas around vents, skylights, and chimneys, where water is more likely to penetrate. Use a compatible sealant to fill gaps and joints, and inspect the entire roof for any signs of weakness or vulnerability.
Inspect and Test the System
With the roofing and flashing securely in place, it's now vital to inspect and test the entire solar roof system to confirm its components are functioning correctly and safely.
This step is essential to make certain your solar roof operates at peak energy output and requires minimal solar panel maintenance.
During the inspection, you'll need to verify the following:
-
Electrical connections: Check that all electrical connections are secure, clean, and free of corrosion.
-
Panel alignment: Ensure that solar panels are properly aligned to maximize energy output.
-
Mounting system: Verify that the mounting system is securely fastened to the roof and can withstand various environmental conditions.
- Monitoring system: Test the monitoring system to confirm it's accurately tracking energy output and detecting any potential issues.
Frequently Asked Questions
Can I Install a Solar Roof on a Rented Property?
You're wondering if you can install a solar roof on a rented property. Typically, you'll need your landlord's permission, but you can investigate a solar lease or exercise your tenant rights to negotiate a mutually beneficial agreement.
Do Solar Panels Work During Power Outages?
You're likely aware that 72% of US homeowners experience power outages annually. During outages, you'll be relieved to know that your solar panels won't generate electricity unless paired with a battery storage system, which optimizes solar panel efficiency and provides backup power when you need it most.
Are Solar Roofs Compatible With All Types of Roofing Materials?
You'll need to take into account compatibility factors when selecting solar roofs, as they don't work seamlessly with all roofing materials; for instance, asphalt shingles and metal roofs are suitable, but clay tiles and slate might require additional support or modifications.
Will a Solar Roof Increase My Property Taxes?
Will your solar roof make your property shine like a guide, attracting the taxman's attention? Not necessarily, as you'll likely offset increased property tax with solar incentives, and the value added might even be exempt from taxation in some areas.
Can I Install a Solar Roof Myself Without Professional Help?
You can attempt a DIY installation, but it's vital you take necessary safety precautions, making sure you're comfortable with heights, electrical connections, and waterproofing; otherwise, hiring a professional is recommended to avoid potential risks and guarantee a safe, efficient solar roof.
Conclusion
You've successfully built a solar roof in 7 steps! According to the National Renewable Energy Laboratory, a typical solar roof can pay for itself in 5-7 years through electricity savings. Now, you're utilizing the sun's energy and reducing your carbon footprint. To maximize your system's efficiency, guarantee regular maintenance and monitoring. With a well-installed solar roof, you can enjoy decades of clean, renewable energy and significant long-term savings. Your investment will indeed pay off, as the data confirms.
Related Posts
-
Green Ways to Maintain Solar Panels
To maintain your solar panels sustainably, start with regular inspections to catch potential issues early, enhancing ...
-

How to Reduce Home Energy Bills
To reduce your home energy bills, start by investing in energy-efficient appliances and upgrading your insulation. Lo...
-
Comparative Analysis of Top Solar Brands
To conduct a comparative analysis of top solar brands, focus on key metrics like durability, energy efficiency, and s...


