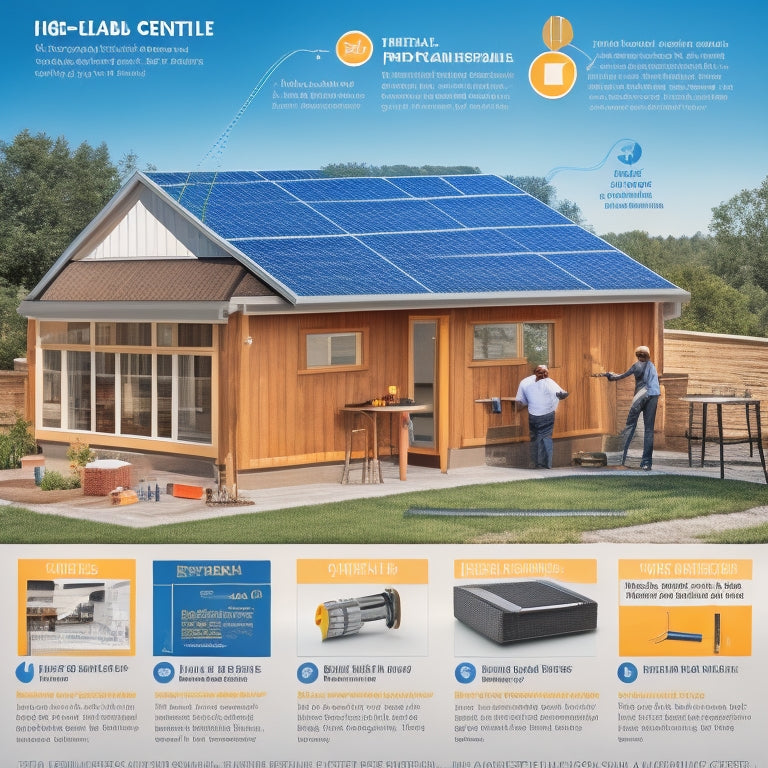
DIY Roof Solar Panels in 10 Easy Steps
You're considering installing DIY roof solar panels to cut your energy bills, and that's a great move! Start by evaluating your energy needs, then choose the right solar panel type for your roof. Prepare your roof for installation, purchase the necessary tools, and assemble the solar panels together. Install them on your roof, connect the inverter to the power grid, and test your system. Finally, monitor and maintain its performance to guarantee maximum energy savings. By following these 10 easy steps, you'll be well on your way to utilizing the power of the sun - and now it's time to explore deeper into the specifics of each step to make your project a success.
Key Takeaways
- Assess energy needs by calculating past year's electricity bills to determine the number of solar panels required.
- Choose the right solar panel type based on efficiency, cost, and compatibility with roof size and installation aesthetics.
- Prepare the roof for installation by inspecting its condition, measuring dimensions, and analyzing sunlight exposure.
- Assemble solar panels together by connecting them in a sequence that minimizes shading effects and optimizes energy production.
- Test the solar panel system by measuring voltage and current output, inspecting wiring and connections, and verifying inverter operation.
Assess Your Energy Needs Today
You're about to initiate a DIY roof solar panel project, but before you begin, it's essential to evaluate your energy needs today. This step is significant in determining the size and type of solar panel system you'll need to install.
Start by calculating your energy consumption over the past year. Review your past electricity bills to get an accurate representation of your energy usage patterns. Take note of the highest and lowest consumption periods to guarantee your system can cater to your peak energy demands.
Understanding your energy needs will help you determine the number of solar panels required to meet your energy requirements. This, in turn, will impact your future savings. By generating the right amount of energy, you'll be able to offset your electricity bills, leading to considerable future savings.
Accurately evaluating your energy needs will also help you identify areas of inefficiency in your home, allowing you to make necessary adjustments to maximize your energy savings. By doing so, you'll be able to optimize your solar panel system's performance and reap the benefits of renewable energy.
Choose Right Solar Panel Type
Now that you've assessed your energy needs, it's time to focus on the solar panel type that will best satisfy those needs.
When selecting a solar panel type, consider the following key factors:
-
Efficiency and Cost: Monocrystalline panels offer high efficiency (up to 22%) but come at a higher cost. Polycrystalline panels are more affordable, with slightly lower efficiency (up to 18%).
-
Flexibility and Durability: Thin film panels provide flexibility and durability, making them ideal for complex rooflines or high-wind areas.
-
Warranty and Brand: Research manufacturers' warranties (typically 25 years) and compare brands based on energy conversion rates, installation aesthetics, and environmental impact.
- Size and Performance: Consider panel size and temperature performance (efficiency decreases as temperature increases). Confirm the chosen panel type fits your roof's size constraints and provides peak energy output.
Prepare Your Roof for Installation
You'll need to assess your roof's condition to guarantee it can support the weight and stress of solar panels.
Next, plan the layout of your roof space to maximize energy production and accommodate obstructions like vents or skylights.
Roof Condition Check
Before installing roof solar panels, inspect your roof to identify potential issues that could affect the installation process or compromise the system's performance.
You must verify your roof is ready for the added weight and electrical components of the solar panels.
Examine your roof's structural integrity, considering factors like:
-
Roof material types: Verify your roof's material can support the weight of the solar panels. Some materials, like asphalt shingles or metal roofing, are more suitable than others, like wooden shakes or slate tiles.
-
Cracks and fissures: Check for cracks in the roofing material, fissures in the flashing, or gaps in the seams. These can create pathways for water to seep in, compromising the system's electrical components.
-
Sagging or uneven surfaces: Identify areas where the roof may be sagging or uneven, which can affect the installation and performance of the solar panels.
- Existing damage or wear: Look for signs of wear, corrosion, or damage to the roof's surface, which can impact the installation process or the system's performance.
Roof Space Planning
Having verified your roof's structural integrity, you're ready to prepare your roof for solar panel installation. This step involves evaluating your roof's dimensions, sunlight exposure, and potential shading issues. You'll need to contemplate your roof's design aesthetics and guarantee compliance with local zoning regulations and ordinances.
| Consideration | Description |
|---|---|
| Roof Dimensions | Measure your roof's length, width, and slope to determine the ideal solar panel layout. |
| Sunlight Exposure | Analyze your roof's sunlight exposure to identify the areas receiving the most sunlight. |
| Shading Analysis | Identify any shading issues from trees, buildings, or other obstructions that may affect solar panel performance. |
| Accessibility | Guarantee easy access to the roof for installation, maintenance, and future expansion. |
| Environmental Impact | Contemplate the environmental impact of your solar panel installation, including potential wildlife habitats or ecosystem disruption. |
Purchase Required Installation Tools
The installation of roof solar panels requires a set of specialized tools to guarantee a safe and efficient process.
You'll need to invest in the right tools to assure a successful DIY project.
When selecting tools, prioritize quality over cost. Cheap tools can compromise installation safety and even void your solar panel warranty.
Here are some essential tools you'll need:
- Drill bits and drivers: For securely fastening panels to your roof
- Wire strippers and crimpers: For connecting electrical components
- Solar panel testing equipment: To verify your panels are functioning correctly
- Personal protective gear: Such as safety belts, gloves, and safety glasses to prevent accidents
Remember to follow tool selection tips from reputable sources to guarantee you're getting the right tools for the job.
Don't skimp on quality – your safety and the success of your project depend on it.
Assemble Solar Panels Together
You'll now assemble the solar panels together, connecting them in a specific sequence to maximize energy output.
Pay attention to panel connection assembly, as incorrect connections can reduce efficiency or even damage the system.
Next, you'll focus on wiring and fusing the panels, ensuring a safe and efficient flow of energy.
Panel Connection Assembly
During assembly, connecting solar panels together requires careful attention to detail, as a single misconnection can compromise the entire system.
You'll need to guarantee that your solar panel types are compatible and that you're using the correct connection techniques to avoid any wiring safety issues.
When assembling your panel connection, keep the following in mind:
- Verify the polarity of each panel to prevent electrical shock or damage to the system.
- Use weather-tight connectors to protect against environmental factors that can affect performance optimization.
- Ascertain that your array configuration is compatible with your inverter, and that you're following the manufacturer's installation guidelines.
- Regularly inspect your connections for signs of wear or damage, and perform maintenance tasks as needed to prevent troubleshooting issues.
Panel Sequence Matters
Assembling solar panels in a specific sequence is essential to secure ideal energy harvesting and prevent potential damage to the system. You'll need to take into account panel orientation and installation angles to guarantee peak energy production.
| Panel Type | Orientation | Installation Angle |
|---|---|---|
| South-facing | Vertical | 30-40° |
| East/West-facing | Horizontal | 20-30° |
| Adjustable | Adjustable | 15-45° |
When assembling solar panels, start with the bottom row, working your way up. This guarantees that any debris or water that may accumulate on the panels will run off without affecting the electrical connections. Connect the panels in a sequence that minimizes shading and allows for easy maintenance. For example, if you're installing a 4-panel array, connect the two bottom panels first, then add the top two panels. This configuration enables you to access the electrical connections without having to climb on the roof. By following this sequence, you'll be able to generate maximum power while securing the longevity of your solar panel system.
Wiring and Fusing
Efficiency in energy harvesting relies on a detailed wiring and fusing process, where each connection is an essential link in the chain of power production.
You'll need to make certain that each solar panel is properly connected to the next, and that the entire system is fused correctly to prevent electrical surges.
To achieve this, you'll need to:
- Connect the positive and negative terminals of each panel to the corresponding wires, making sure to match the correct voltage and current ratings
- Use wire management techniques to keep the wiring organized and secure, preventing damage from wind, rain, or UV exposure
- Install fuses or circuit breakers to protect the system from electrical overloads and short circuits
- Take necessary safety precautions, such as wearing protective gear and making sure the system is de-energized before making any connections
Connect Solar Panels to Inverter
You're now ready to connect your solar panels to the inverter, an important step in employing the power generated by your DIY roof solar panel system. This connection enables you to convert DC power from the solar panels to AC power for your home.
To begin, confirm you have the correct type of inverter for your system. There are three main solar inverter types: string inverters, microinverters, and power inverters. String inverters are the most common, but microinverters provide more flexibility and are suitable for complex systems.
Here's a comparison of inverter efficiency:
| Inverter Type | Efficiency (%) |
|---|---|
| String Inverter | 95-97% |
| Microinverter | 97-99% |
| Power Inverter | 90-95% |
Inverter efficiency is vital as it affects the overall performance of your system. A higher efficiency rating guarantees more power is converted and applied. Now, connect the solar panels to the inverter, verifying proper wiring and electrical connections. Consult the inverter's manual for specific instructions.
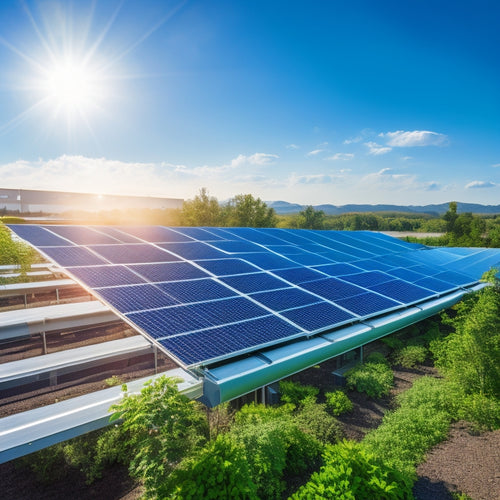
Install Solar Panels on Roof
You're now ready to install your solar panels on the roof, but first, you'll need to make certain it's prepared for the installation process. This involves checking the roof's condition, removing any debris, and identifying potential obstructions.
Next, you'll need to strategically place the solar panels to maximize energy output and install a mounting system that securely fastens them to the roof.
Roof Preparation Essentials
Before installing solar panels on your roof, a thorough assessment of the roof's condition is essential to confirm a safe and secure installation. You need to verify that your roof can support the weight of the solar panels and withstand various weather conditions.
To prepare your roof, take the following essential steps:
-
Check for damaged, missing, or loose shingles, and replace them to maintain a watertight seal.
-
Inspect the roof's insulation and add more if necessary, following proper roof insulation tips to prevent heat loss and moisture buildup.
-
Apply weatherproofing techniques to seal gaps and cracks around chimneys, vents, and skylights to prevent water intrusion.
- Clear the roof of debris, such as leaves and branches, to verify a clean surface for solar panel installation.
Solar Panel Placement
Your roof is now ready for the solar panels, and it's time to determine their ideal placement. You'll want to verify peak energy production, so consider the solar orientation of your roof. In the northern hemisphere, a south-facing orientation is optimal, as it receives the most direct sunlight.
If your roof doesn't face directly south, don't worry – you can still achieve high energy output with a southeast or southwest orientation.
Next, perform a shading analysis to identify any obstacles that might block sunlight from reaching your panels. Check for nearby trees, chimneys, vents, or other structures that could cast a shadow.
You'll need to account for seasonal changes in shading patterns, too. Online tools or solar panel software can help you simulate shading scenarios and enhance your panel placement.
Using your findings, strategically position your solar panels to maximize energy production. Keep in mind that even partial shading can greatly reduce energy output, so try to minimize shading as much as possible.
Mounting System Installation
With your solar panel placement carefully planned, it's time to secure them to your roof using a mounting system. This is a critical step, as it guarantees your solar panels are safely and efficiently installed.
You'll need to choose the right mounting materials for your roof type, considering factors like structural support and weather considerations. For instance:
-
Roof-mounted systems: ideal for asphalt shingle, metal, or tile roofs, these systems use clamps and brackets to secure panels.
-
Railed systems: suitable for flat or curved roofs, these systems use rails and clamps to provide additional structural support.
-
Ballasted systems: perfect for flat roofs, these systems use weights to secure panels, eliminating the need for penetration.
- Integrated systems: designed for new roof installations, these systems integrate solar panels with roofing materials for a seamless look.
When selecting a mounting system, consider mounting angles, installation techniques, and aesthetic integration.
Think about future upgrades and guarantee your chosen system can accommodate them.
Connect Inverter to Power Grid
Grid synchronization is the linchpin of a successful solar power system, and it begins with connecting your inverter to the power grid. This is where your solar power system meets the electrical grid, enabling you to feed excess energy back into the grid and offset your electricity bills.
To guarantee a safe and efficient grid connection, you need an inverter that's compatible with your local grid's frequency and voltage requirements. Here's a breakdown of the key considerations:
| Grid Connection Type | Inverter Compatibility | Grid Synchronization |
|---|---|---|
| Single-phase | 120/240V, 60Hz | Grid tie with net metering |
| Three-phase | 208/480V, 60Hz | Grid tie with net metering |
| Off-grid | 120/240V, 60Hz | Grid-forming with battery backup |
When choosing an inverter, make certain it's certified for your local grid connection type and meets the necessary safety and performance standards. Proper inverter compatibility guarantees a seamless grid connection, allowing you to utilize the full potential of your solar power system.
Test Your Solar Panel System
Now that your inverter is properly connected to the power grid, it's time to confirm your solar panel system is functioning as intended. This critical step guarantees your system is generating electricity efficiently and safely.
You'll need to perform a series of tests to evaluate the system's performance. Here's what to check:
-
Measure the voltage and current output of each solar panel to identify any potential issues or defects.
-
Inspect the connections and wiring for signs of wear, corrosion, or damage.
-
Verify that the inverter is operating within the recommended temperature range and that the cooling system is functioning correctly.
- Use a multimeter to test the system's overall efficiency and compare it to the manufacturer's specifications.
Monitor and Maintain System Performance
Between regular inspections and routine maintenance, you'll be able to identify and address potential issues before they escalate, ensuring your solar panel system operates at peak performance and maximizing your energy savings.
To achieve this, create a maintenance schedule that includes regular checks on system performance, using monitoring tools to track performance metrics such as energy output and efficiency. By doing so, you'll be able to identify areas for improvement and troubleshoot issues before they become major problems.
Regularly inspect your system for signs of wear and tear, and perform inverter maintenance as needed. Keep an eye on environmental factors that may affect your system's performance, such as shading, debris, or extreme weather conditions.
By staying on top of these factors, you'll be able to optimize your system's performance and make informed decisions about system upgrades. Regular monitoring and maintenance will also help you identify opportunities to improve your system's efficiency, leading to increased energy savings over time.
Frequently Asked Questions
Can I Mix and Match Different Solar Panel Brands and Models?
You can mix and match different solar panel brands and models, but consider solar panel compatibility and brand performance to guarantee ideal energy output, as varying efficiencies and voltage ratings might affect your system's overall power generation.
How Do I Ensure My System Complies With Local Building Codes?
You're not steering through uncharted waters, but rather, charting a course through local regulations. Confirm your system complies by verifying it meets local building codes and safety standards, avoiding costly rework and guaranteeing a safe, efficient installation that utilizes the power you desire.
What Happens to Excess Energy Generated by My Solar Panels?
You'll benefit from net metering benefits, storing excess energy in grids, or exploring energy storage options like batteries, allowing you to employ surplus power during periods of low solar energy production, maximizing your solar investment.
Are There Any Government Incentives for DIY Solar Panel Installations?
You're likely aware that the US solar market has grown 48% annually since 2012. Fortunately, you can capitalize on this trend through government incentives, such as tax credits, rebate programs, installation grants, and energy efficiency initiatives, reducing your DIY solar panel installation costs.
Can I Add More Solar Panels to My Existing System Later?
You can expand your solar panel setup later, but you'll need to guarantee system compatibility for a seamless solar panel expansion, considering factors like panel type, voltage, and inverter capacity to maximize your energy output.
Conclusion
You've successfully installed your DIY roof solar panels! Now, utilize the power of the sun to reduce your energy bills and carbon footprint. Curiously, did you know that the average American home solar system can save up to $500 per year on electricity costs? With your new solar panel system, you're not only saving money but also contributing to a sustainable future.
Related Posts
-

Evaluating Solar Power Options for Businesses
Evaluating solar power options for your business can greatly reduce energy costs and enhance sustainability. Start by...
-
Solar Energy Efficiency Improvements for Businesses
Improving solar energy efficiency for your business can lead to considerable cost savings and enhance your sustainabi...
-
Comparative Analysis of Top Solar Brands
To conduct a comparative analysis of top solar brands, focus on key metrics like durability, energy efficiency, and s...


