
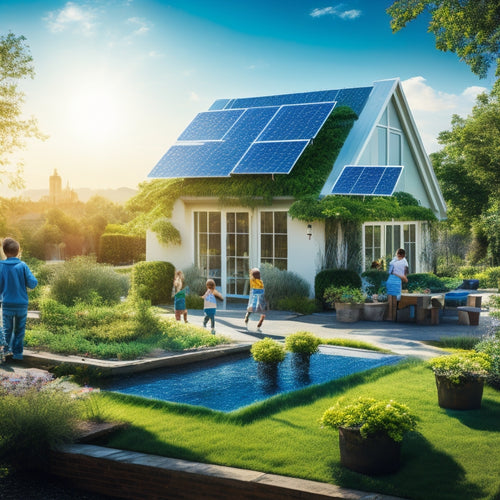
3 Steps to a Successful DIY Solar Panel Installation
You'll set yourself up for success by evaluating your solar readiness, factoring in your location's solar potential, roof orientation, and local incentives. Next, prepare your roof and site by inspecting for wear, identifying obstructions, and reviewing local building codes. Finally, install and connect your panels, ensuring secure fastening, proper wiring, and weather-resistant connections. By following these three steps, you'll be well on your way to utilizing the sun's power - and now that you've got a solid foundation, you can fine-tune the details to maximize your energy savings.
Key Takeaways
- Evaluate your location's solar potential, considering sunlight exposure, roof orientation, and surrounding obstructions.
- Inspect your roof's condition, identifying obstructions and assessing its orientation and slope for optimal energy output.
- Ensure panels are securely fastened to the roof, with proper wiring techniques, weather-resistant connectors, and short, labeled wiring runs.
- Research and take advantage of available financial incentives, such as rebates and tax credits, to offset installation costs.
- Analyze local weather patterns and building codes to optimize your DIY solar panel installation's efficiency and compliance.
Assess Your Solar Readiness
Before investing in a solar panel installation, assess your solar readiness by evaluating your location's solar potential.
You'll want to determine the amount of sunlight your location receives, as this directly affects your solar energy efficiency. Consider factors like the orientation of your roof, surrounding trees or buildings that may cast shade, and local weather patterns.
Next, research the financial incentives available in your area. Many governments and utilities offer rebates, tax credits, or other incentives to encourage the adoption of solar energy.
These can greatly offset the upfront cost of your installation, making it more feasible. Additionally, some states and utilities offer net metering programs, which allow you to sell excess energy back to the grid and offset your energy bills.
Prepare Your Roof and Site
Now that you've assessed your solar readiness and researched available financial incentives, it's time to focus on preparing your roof and site for the installation.
To guarantee a successful DIY solar panel installation, you must evaluate your roof's condition. Check for signs of wear, damage, or aging that could compromise the structural integrity of your roof. Inspect the roof's surface for obstructions like skylights, vents, or chimneys that may interfere with the solar panel installation.
Additionally, consider the roof's orientation and slope, as these factors can impact the system's energy output. Ideally, your roof should face south and have a slope between 15 and 40 degrees.
Next, assess your site's orientation. Determine the direction your roof faces and the surrounding terrain. Consider any potential shading issues from nearby trees, buildings, or other obstructions.
Take note of any local building codes, regulations, or homeowners' association rules that may affect your installation. By carefully evaluating your roof and site, you'll be well-prepared for a successful DIY solar panel installation.
Install and Connect Panels
Your DIY solar panel installation reaches a critical phase as you begin installing and connecting the panels. This is where your careful planning and preparation come together to guarantee a successful installation.
When installing the panels, consider the panel orientation to maximize energy output. Typically, a south-facing orientation with a tilt between 30° and 40° is ideal. Make sure the panels are securely fastened to the roof or mounting system to withstand wind and weather conditions.
To connect the panels, focus on proper wiring techniques to prevent electrical shock and guarantee efficient energy transmission. Consider the following:
- Use weather-resistant connectors and wiring to prevent corrosion and damage.
- Keep wiring runs as short as possible to minimize energy loss.
- Label and organize wiring to facilitate easy maintenance and troubleshooting.
Frequently Asked Questions
Can I Install Solar Panels on a Metal or Clay Tile Roof?
You can install solar panels on a metal roof with specialized mounts, but consider the roof's structural integrity and potential corrosion. For clay tile roofs, you'll need to make certain the tiles are securely fastened and consider additional support for the panels' weight.
How Do I Handle Snow and Ice on My Solar Panels?
Winter's chill got you worried? You'll need to tackle snow and ice on your solar panels to keep the juice flowing. Use a soft-bristled brush for snow removal and consider installing ice-melting systems to guarantee maximum energy harvest.
Will Solar Panels Increase My Property Taxes?
You'll likely see a moderate increase in your property tax assessment, as the solar panel valuation adds value to your property; however, this hike will be offset by the savings from generating your own clean energy.
Can I Expand My Solar Panel System in the Future?
While you're enjoying the energy independence you've achieved, you're likely thinking ahead - can you scale up? Fortunately, you can expand your solar panel system in the future, ensuring system compatibility and leaving room for future capacity upgrades as your energy needs evolve.
Are There Any Local or State Incentives for DIY Solar Installation?
You'll likely qualify for federal tax credits and installation grants, markedly reducing your DIY solar panel installation costs. Research local and state incentives, such as rebates, tax exemptions, and low-interest loans, to maximize your savings.
Conclusion
As you flip the switch, the hum of electricity coursing through your home's veins is music to your ears. You've captured the sun's radiant energy, breaking free from the grid's shackles. Your DIY solar panel installation is a guiding light of independence, shining bright like a lighthouse on a stormy night. You've taken control of your energy destiny, illuminating a path towards a sustainable future. Now, bask in the warmth of your triumph, knowing you've powered your home with the infinite energy of the sun.
Related Posts
-
Solar Energy Benefits for Sustainable Living
Solar energy provides numerous benefits for sustainable living that you can't overlook. By switching to solar, you'll...
-
Long-Term Cost Savings With Solar Panels
Investing in solar panels offers substantial long-term savings on energy costs. You'll benefit from federal tax credi...
-
High-Performance Solar Solutions for Sustainable Living
High-performance solar solutions are your gateway to sustainable living, maximizing energy efficiency while considera...


