10 Essential Steps for Fixing Solar Panels
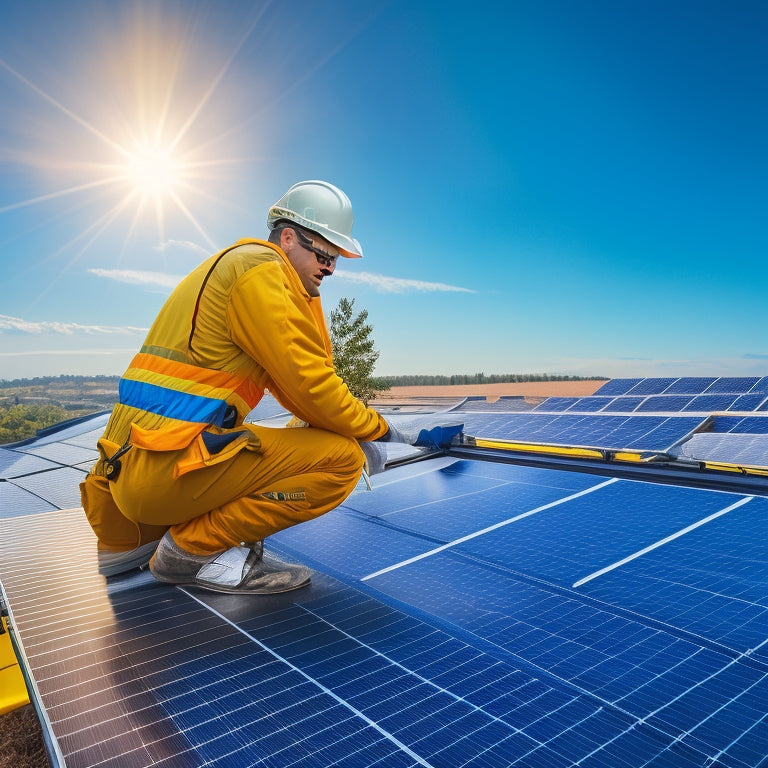
You'll need to follow a careful process to fix your solar panels, starting with identifying the problem source through monitoring performance and visual inspections. Then, turn off the system safely to prevent injuries and electrical shocks. Next, inspect the panel frames and glass for damage, corrosion, or water ingress, and check electrical connections for secure wiring and corrosion. Verify the panel angle and tilt for peak energy output, and replace damaged components with matching specifications. Finally, test the system thoroughly to confirm it's operating at its maximum potential - and get ready to explore deeper into the specifics of each step to secure a successful repair.
Key Takeaways
- Identify the problem source by monitoring panel performance, reviewing system data, and conducting visual inspections for physical damage or debris.
- Ensure safe working conditions by disconnecting the system from the grid, wearing personal protective equipment, and conducting hazard assessments.
- Inspect solar panels physically for broken glass, corrosion, and damage to frames, cells, and wiring.
- Check electrical connections for wear, damage, or corrosion, and secure wiring to prevent electrical shock.
- Optimize panel angle and tilt for seasonal sun positions, and clean panels regularly to maintain peak energy production.
Identify the Problem Source
Diagnosing the root cause of the issue is essential in fixing solar panels efficiently. You need to identify the problem source to apply the correct solution and avoid wasting time and resources.
To do this, you'll need to monitor your panel performance and look for signs of underperformance, such as reduced power output or irregular voltage readings.
Start by reviewing your system's monitoring data to pinpoint the issue. Check for any error codes or alerts that may indicate the problem area.
Next, perform a visual inspection of the panels to look for signs of physical damage, dirt, or debris accumulation. Use troubleshooting techniques like voltage testing and current measurement to isolate the faulty component.
Turn Off the System Safely
When fixing solar panels, you must turn off the system safely to prevent injuries and electrical shocks.
To do this, you'll need to follow a power down sequence and system shutdown procedure, which may vary depending on your specific system configuration.
Confirm you've created safe working conditions by verifying the system is completely de-energized before starting repairs.
Power Down Sequence
Before you start troubleshooting or repairing your solar panel system, turn it off safely to prevent electrical shock or damage. This power down sequence is essential for solar panel maintenance and guarantees your safety during the repair process.
Disconnect the solar panel system from the grid by switching off the main circuit breaker or isolator. This will isolate the system from the electrical grid, preventing any backfeeding of electricity.
Next, switch off the inverter, which converts DC power from the solar panels to AC power for your home. This will prevent any electrical shock or injury.
Now, disconnect the DC isolator, which connects the solar panels to the inverter. This will prevent any DC power from flowing through the system.
Finally, switch off the solar panel array, confirming that no power is being generated.
System Shutdown Procedure
Your solar panel system's shutdown procedure is a critical step in guaranteeing a safe and successful maintenance or repair process. It's crucial to follow the correct shutdown sequence to prevent electrical shock, equipment damage, or even fires.
To shut down your system safely, you'll need to follow these steps:
| Step | Action | Purpose |
|---|---|---|
| 1 | Switch off the main AC breaker | Isolate the system from the grid |
| 2 | Disconnect the DC power source | Prevent backfeeding from the solar panels |
| 3 | Open the DC disconnect | Isolate the inverter and other equipment |
| 4 | Verify zero voltage | Confirm the system is de-energized |
| 5 | Lock out/tag out | Prevent accidental startup |
Ensure Safe Working Conditions
Turn off the system safely by following a careful shutdown procedure to guarantee a secure environment for maintenance or repair. You should always prioritize your safety and the safety of others involved in the process.
Begin by disconnecting the main electrical supply to the solar panel system, and then proceed to shut down the inverter and other electrical components.
Next, perform a hazard assessment to identify potential risks, such as electrical shock, falls, or cuts. Based on this assessment, wear appropriate personal protective equipment (PPE), including gloves, safety glasses, and a hard hat.
Ascertain the work area is clear of debris and obstructions, and that the floor is dry and non-slippery. Additionally, confirm you have a clear escape route in case of an emergency.
Make sure you have a first aid kit nearby and a means of communication, such as a phone or two-way radio. By taking these precautions, you'll be well-prepared to fix your solar panels safely and efficiently.
Inspect the Panel Frames
Inspect the Panel Frames
Three key areas of the panel frames demand your attention: the anodized aluminum or stainless steel material, the frame's structural integrity, and the screws or clamps that hold the panels in place.
You'll want to inspect the frame materials for signs of corrosion, rust, or damage, ensuring they can support the weight of the solar panels. Check for any dents, scratches, or bending that could compromise the frame's structural integrity.
Verify that the frame provides adequate panel support, ensuring the panels are securely fastened to the frame. Inspect the screws or clamps for any signs of wear, rust, or damage. Make sure they're tightened properly to prevent the panels from shifting or detaching.
You should also check for any signs of water ingress or damage to the frame's weather seals. A compromised frame can lead to reduced energy output, safety hazards, or even complete system failure.
Check Electrical Connections
When checking electrical connections, you'll need to identify the type of connection used in your solar panel system, as different types require specific procedures.
You'll also want to inspect the wiring for signs of wear, damage, or corrosion, ensuring all connections are secure and not loose.
Connection Type Matters
Your solar panel system's electrical connections play a critical role in its overall performance and longevity. The type of connection used can considerably impact the system's efficiency and reliability. There are several connection types to take into account, each with its own set of benefits and drawbacks.
| Connection Type | Description |
|---|---|
| MC4 (Multi-Contact 4) | Industry standard for solar panels, easy to install and disconnect |
| MC3 (Multi-Contact 3) | Older standard, still used in some legacy systems |
| H4 (Halo 4) | Used for high-voltage systems, offers higher current ratings |
When selecting a connection type, take into account the wiring standards and compatibility with your system's components. Verify the connections are secure, clean, and free from damage or corrosion. Using the correct connection type can prevent issues like overheating, electrical shock, and system downtime. Always consult the manufacturer's guidelines and local electrical codes to verify a safe and efficient installation.
Secure Wiring Checks
As you investigate the heart of your solar panel system, confirm that all electrical connections are secure and properly fastened to prevent electrical shock, overheating, and system downtime.
Check for any signs of wear, damage, or corrosion on wire insulation, as compromised insulation can lead to electrical shorts and system failures. Consult your wiring diagrams to ascertain that all connections match the original installation specifications.
Inspect each connection point, such as terminals, connectors, and splices, to verify they're clean, dry, and free of debris.
Look for any signs of overheating, like burnt or melted components, and replace them if necessary. Confirm that all wires are properly sized and rated for the system's electrical load, and that they're not pinched, crushed, or damaged in any way.
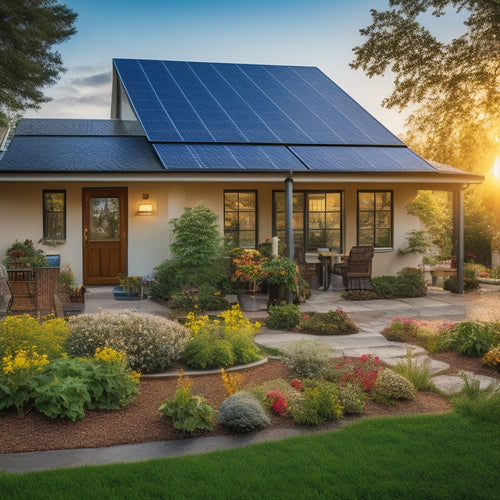
Verify Panel Angle and Tilt
The ideal angle and tilt of your solar panels are essential for maximizing energy output. When installed correctly, they allow your system to capture peak sunlight, resulting in increased power generation.
However, if the angle or tilt is off, your energy production will suffer. To confirm the panel angle and tilt, you'll need to consult your system's installation manual or manufacturer's recommendations. Typically, the ideal angle is between 30 and 40 degrees, but this can vary depending on your location and the time of year.
As you inspect the panels, make seasonal adjustments as needed. During winter, a steeper angle can help compensate for the lower sun position, while a shallower angle is more suitable for summer.
Ascertain the panels are securely fastened to the mounting system to prevent any shifting or damage. By confirming and adjusting the panel angle and tilt, you'll be able to enhance your energy output and get the most out of your solar panel system.
Clean the Panels Thoroughly
Dust, dirt, and debris on the solar panels can greatly reduce their energy output, making regular cleaning crucial. You'll need to clean your panels regularly to maintain peak energy production.
As part of your panel maintenance routine, develop a cleaning schedule that suits your environment. In dusty or polluted areas, you may need to clean your panels every week or two. In cleaner environments, you can clean them every 2-3 months.
When cleaning your panels, use gentle cleaning techniques to avoid scratching the surface. Mix a solution of mild soap and water, and use a soft-bristled brush or a microfiber cloth to wipe down the panels.
Avoid using harsh chemicals, abrasive materials, or high-pressure washes, which can damage the panels. Rinse the panels thoroughly with clean water to remove any soap residue.
Make certain to clean the panels during the early morning or late afternoon when the sun isn't directly overhead. This will help prevent water spots from forming and reduce the risk of thermal shock.
Inspect for Broken Glass
From behind the glass, photovoltaic cells convert sunlight into electricity, but broken glass can render them useless. As you inspect your solar panels, you need to check for broken glass to guarantee peak energy production. Weather effects like hail, strong winds, and debris can cause cracks or shattering, reducing the panel's efficiency.
To inspect for broken glass, follow these steps:
| Inspection Area | What to Look For |
|---|---|
| Glass surface | Cracks, shattering, or chipping |
| Frame and edges | Damage, rust, or corrosion |
| Cell surface | Cracked or broken photovoltaic cells |
| Mounting system | Loose or damaged mounting clips |
| Connectors and wiring | Damage, corrosion, or wear |
Check your solar panels regularly, ideally every 6-12 months, to catch any damage early on. This maintenance frequency helps prevent minor issues from becoming major problems. Remember, a single broken glass panel can affect the entire system's performance. By inspecting for broken glass, you can identify and address issues promptly, guaranteeing your solar panels continue to generate power efficiently.
Replace Damaged Components
After inspecting your solar panels for broken glass and identifying damaged components, it's time to take corrective action.
You'll need to replace these components to guarantee your solar panel system operates at peak levels. Start by sourcing replacement components from reputable suppliers, confirming they match the original specifications. This is essential to maintain the system's performance and warranty.
When replacing damaged components, employ proper replacement techniques to avoid further damage or electrical shock. For instance, when handling electrical connections, make sure you disconnect the power source and follow proper lockout/tagout procedures.
Additionally, take note of the component's orientation and mounting to ensure correct installation.
Proper component sourcing and replacement techniques are fundamental in restoring your solar panel system's functionality. By following these steps, you'll be able to identify and replace damaged components efficiently, minimizing downtime and maximizing energy production.
Remember to always refer to the manufacturer's guidelines and safety protocols when performing repairs to guarantee a safe and successful outcome.
Check Inverter Functionality
Having restored your solar panel system's components, you're now ready to focus on the inverter's functionality, a vital aspect of your system's overall performance. The inverter is responsible for converting DC power from your solar panels into AC power for your home or business. To guarantee peak performance, you need to check the inverter's functionality.
There are different types of inverters, including string inverters, microinverters, and power optimizers. Each type has its own strengths and weaknesses, and understanding their characteristics is essential for efficient monitoring.
| Inverter Type | Efficiency Monitoring |
|---|---|
| String Inverter | Monitoring is done at the inverter level |
| Microinverter | Monitoring is done at the individual panel level |
| Power Optimizer | Monitoring is done at the individual panel level |
When checking the inverter's functionality, you should verify that it's producing the expected amount of power and that the efficiency monitoring system is working correctly. This will help you identify any issues and take corrective action to guarantee your solar panel system is running at its best.
Test the System Thoroughly
Now that you've verified the inverter's functionality, it's time to test the entire system thoroughly to confirm every component is working in harmony. This critical step ascertains that your solar panel system is producing peak power output.
To do this, you'll need to monitor performance metrics such as voltage, current, and power output at various points in the system. Compare these metrics to the manufacturer's specifications to identify any discrepancies.
Using advanced troubleshooting techniques, inspect the system's electrical connections, wiring, and grounding to rule out any potential issues.
Check for signs of wear, corrosion, or damage that could be hindering system performance. Perform a series of tests to isolate and diagnose any problems, including insulation resistance tests, earth fault tests, and open-circuit voltage tests.
Frequently Asked Questions
Can I Fix Solar Panels Myself or Do I Need a Professional?
You can attempt DIY repairs, but be aware that solar panels involve high voltages and require special equipment, so it's essential you take necessary safety precautions to avoid electrical shock or fire hazards.
How Often Should I Inspect and Maintain My Solar Panel System?
You should inspect your solar panel system every 6-12 months to guarantee ideal performance, extending its lifespan; create a maintenance checklist to stay on track, covering tasks like cleaning, tightening, and monitoring performance metrics.
Are Solar Panels Covered Under a Manufacturer's Warranty?
You'll typically find that solar panels are covered under a manufacturer's warranty, which usually lasts between 25 to 30 years, and includes warranty coverage for defects, performance, and labor costs, providing you with peace of mind and protection for your investment.
Can I Repair or Replace Individual Solar Cells in a Panel?
You can attempt individual cell repairs, but it's often impractical; instead, consider solar cell replacement, as it's usually more efficient and cost-effective, especially if you're not experienced with intricate electrical work.
Do I Need to Turn off the Entire System for Routine Maintenance?
As you contemplate routine maintenance, you wonder: do I really need to shut down the entire system? The answer is yes, you must, to guarantee your safety and the system's integrity, taking necessary safety precautions and performing a full system shutdown to avoid electrical shock and damage.
Conclusion
You've taken the vital steps to fix your solar panels, and now it's time to reap the rewards. Your system hums back to life, utilizing the sun's power with renewed efficiency. You've overcome obstacles, restored performance, and guaranteed a cleaner energy future. With each step, you've demonstrated dedication, perseverance, and a commitment to sustainability. Your diligence will pay off, and the benefits will shine bright – literally.
Related Posts
-
How to Achieve Energy Independence at Home
To achieve energy independence at home, start by investing in renewable energy sources like solar panels, wind turbin...
-

Energy-Efficient Heating and Cooling Appliances
Energy-efficient heating and cooling appliances can cut your energy bills markedly. By opting for models with high En...
-
Solar Energy Grants and Incentives for Homeowners
Maneuvering solar energy grants and incentives is essential for reducing your installation costs. You can benefit fro...


